Introduction
The Arduino team in a separate blog post releases their support for MicroPython as part of their tooling. They partnered with the original creator of MicroPython Damien George to port the original MicroPython Virtual Machine to different Arduino products. This would boost the use of MicroPython now that the Arduino team is supporting it. Note however that this is still in the experimental stage as per the blog post.
In this post, I tried to get started using the Arduino Lab for MicroPython IDE and see if it would be easy to pick up. As there is not much documentation yet on this topic I will just be sharing the steps that I did to try this out. For video presentation and if you want to see how the Arduino Lab for MicroPython IDE works then please watch below or watch it on my YouTube channel.
Why use MicroPython over Arduino?
MicroPython is a lean and efficient implementation of the Python 3 programming language that includes a small subset of the Python standard library and is optimised to run on microcontrollers and in constrained environments.
micropython.org
In my opinion, Arduino has been there for a while and has powered many of the popular MicroController Units (MCU) but the learning curve would take some time after learning how to blink LED(s) using Arduino C/C++ code. On the other hand, Python adoption in Data Science, Machine Learning, and Artificial Intelligence has seen astronomical growth because of how easy and readable the code is especially for students with no programming background.
Will MicroPython replace Arduino? I doubt it as lots of products already using the Arduino ecosystem. But having another tool like MicroPython would surely help students get on board the exciting world of embedded MicroController programming.
Prerequisites
I am using the following components and tools in this post.
- ESP32 ( I used Generic ESP32s) – Amazon | AliExpress | Bangood
- Breadboard – Amazon | AliExpress | Bangood
Disclosure: These are affiliate links and I will earn small commissions to support my site when you buy through these links.
I am using Windows PC and installed Python on my workstation.
How to get started with Arduino Lab for MicroPython?
There are several steps that we need to accomplish to get started so I will be documenting them here.
Download the required software
- Download the Arduino Lab for MicroPython from this link. Select the appropriate installer for your OS. I downloaded the Windows zipped installer and unzipped it in one of my local folders.
- Download Python if you have not done so from this link. Execute the installer depending on the type of OS that you have.
Related Content:
How to install Python on Windows
Download the MicroPython firmware for your MicroController
I am using a generic ESP32s MCU in my case so I just followed the steps outlined here by the MicroPython team. If you are using a different MCU then download the appropriate MicroPython firmware for it.
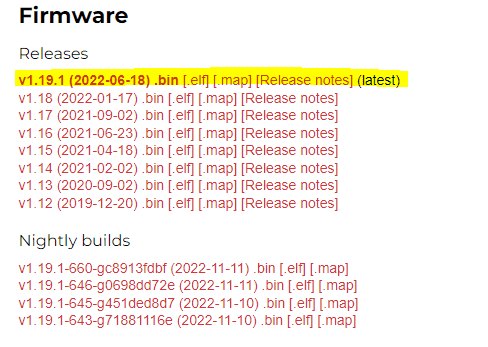
- Download the ESP32 MicroPython firmware from https://micropython.org/download/esp32/. Choose the stable latest build. At the time of this post, I downloaded the following.
2. Plug your ESP32 MicroController unit into your USB connection.
- Open a command prompt or a terminal. Locate a folder where we could install the firmware. I used ‘C:\micropython“
C:\Users\DONSKY>cd c:\micropython
c:\micropython>- Create a Python virtual environment where we would install the required tooling for the firmware installation. This is so that we will not be touching our base Python package installations. Execute the below code and wait for it to finish.
py -m venv .venvIf you are in Mac or Linux then replace the “py” command with “python” or “python3“
- Activate the virtual environment. If you are in Linux/Mac then the code would be “
source .venv/bin/activate“
c:\micropython>.venv\Scripts\activateYou would see your command prompt looking like this which means that you are now in a Python virtual environment.

- Install the esptool needed for the firmware installation. Wait for it to finish.
pip install esptool
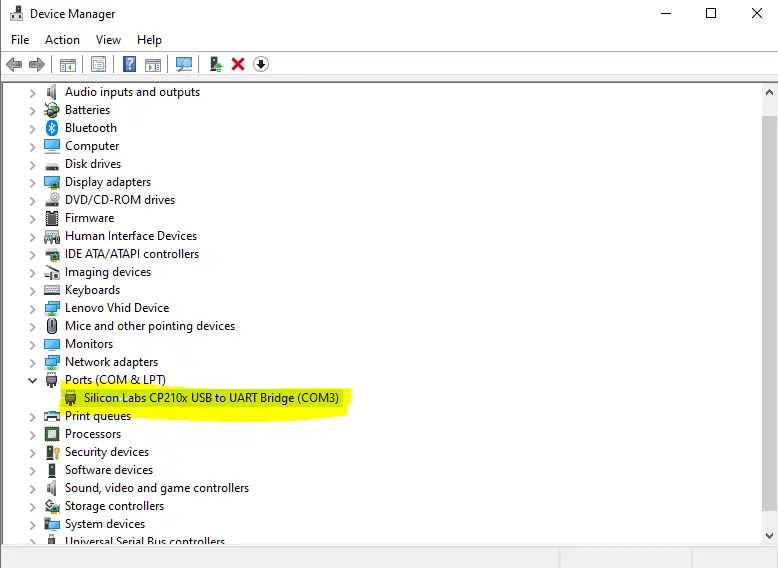
- Locate which COM port your device is connected to by going into your Device Manager and Ports.
- Erase the flash memory of your ESP32
esptool.py --chip esp32 --port COM3 erase_flashIf an error has occurred, retry the command and click the boot button momentarily on your ESP32 for it to be in Boot Mode.
You should see the following message in your command prompt or terminal
(.venv) c:\micropython>esptool.py --chip esp32 --port COM3 erase_flash
esptool.py v4.3
Serial port COM3
Connecting..................................
Chip is ESP32-D0WDQ6 (revision v1.0)
Features: WiFi, BT, Dual Core, 240MHz, VRef calibration in efuse, Coding Scheme None
Crystal is 40MHz
MAC: 24:62:ab:fe:d6:94
Uploading stub...
Running stub...
Stub running...
Erasing flash (this may take a while)...
Chip erase completed successfully in 6.8s
Hard resetting via RTS pin...- Install the MicroPython firmware for your MCU.
esptool.py --chip esp32 --port COM3 --baud 460800 write_flash -z 0x1000 esp32-20220618-v1.19.1.binYou should be able to see the following message displayed in your command prompt or terminal.
(.venv) c:\micropython>esptool.py --chip esp32 --port COM3 --baud 460800 write_flash -z 0x1000 esp32-20220618-v1.19.1.bin
esptool.py v4.3
Serial port COM3
Connecting.........
Chip is ESP32-D0WDQ6 (revision v1.0)
Features: WiFi, BT, Dual Core, 240MHz, VRef calibration in efuse, Coding Scheme None
Crystal is 40MHz
MAC: 24:62:ab:fe:d6:94
Uploading stub...
Running stub...
Stub running...
Changing baud rate to 460800
Changed.
Configuring flash size...
Flash will be erased from 0x00001000 to 0x0017efff...
Compressed 1560976 bytes to 1029132...
Wrote 1560976 bytes (1029132 compressed) at 0x00001000 in 24.2 seconds (effective 515.6 kbit/s)...
Hash of data verified.

Leaving...
Hard resetting via RTS pin...
We now have successfully installed the MicroPython firmware for our ESP32 MCU.
Run the Arduino Lab for MicroPython
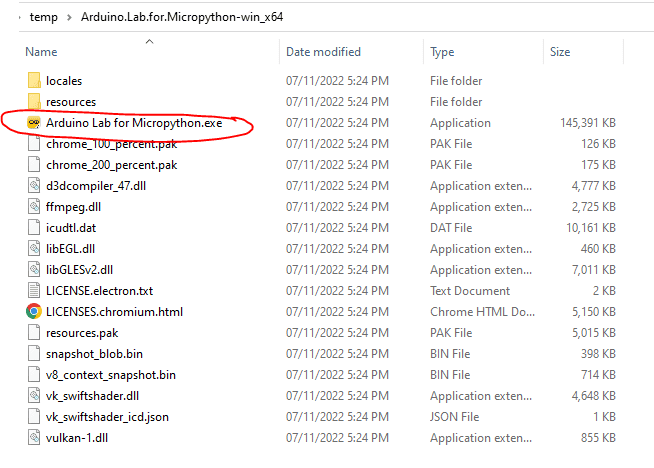
- Click the Arduino Lab for the MicroPython executable
- Click the Connect button at the top left and locate the COM port for your ESP32 MCU.
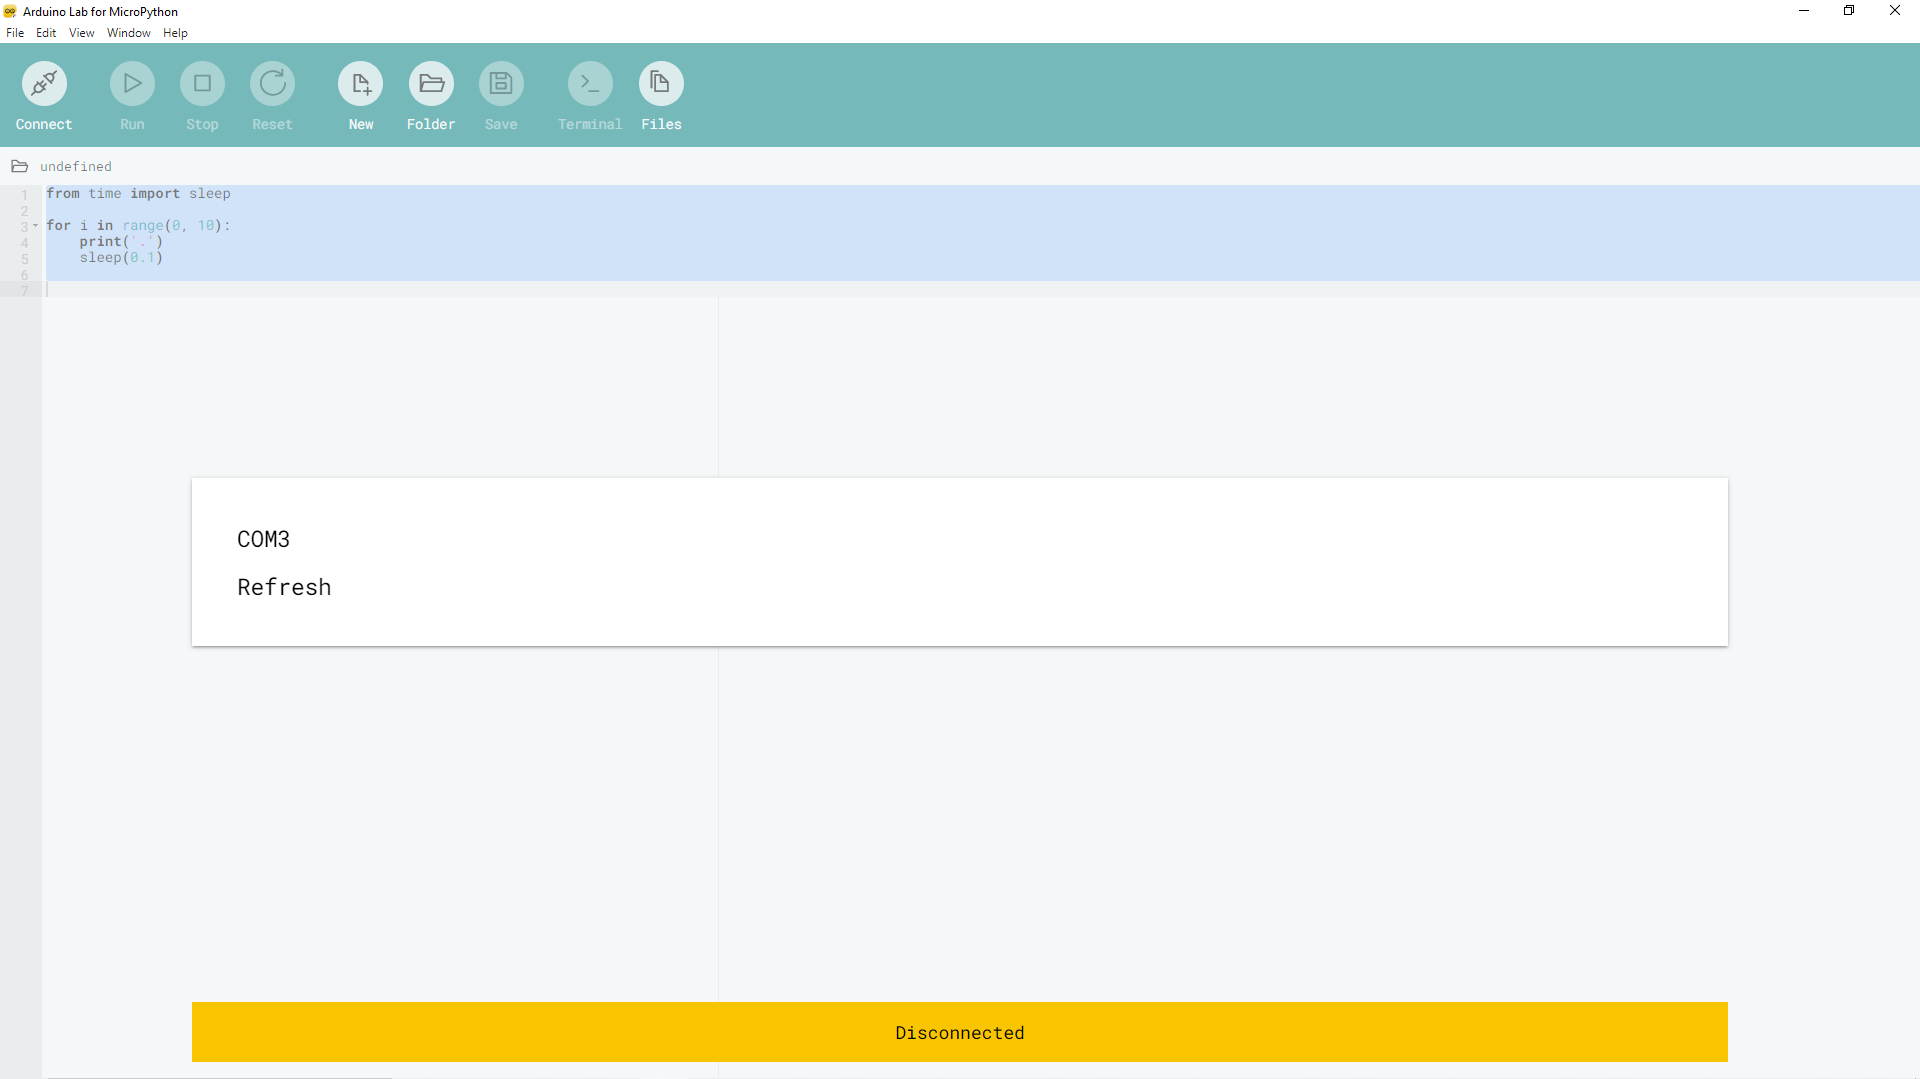
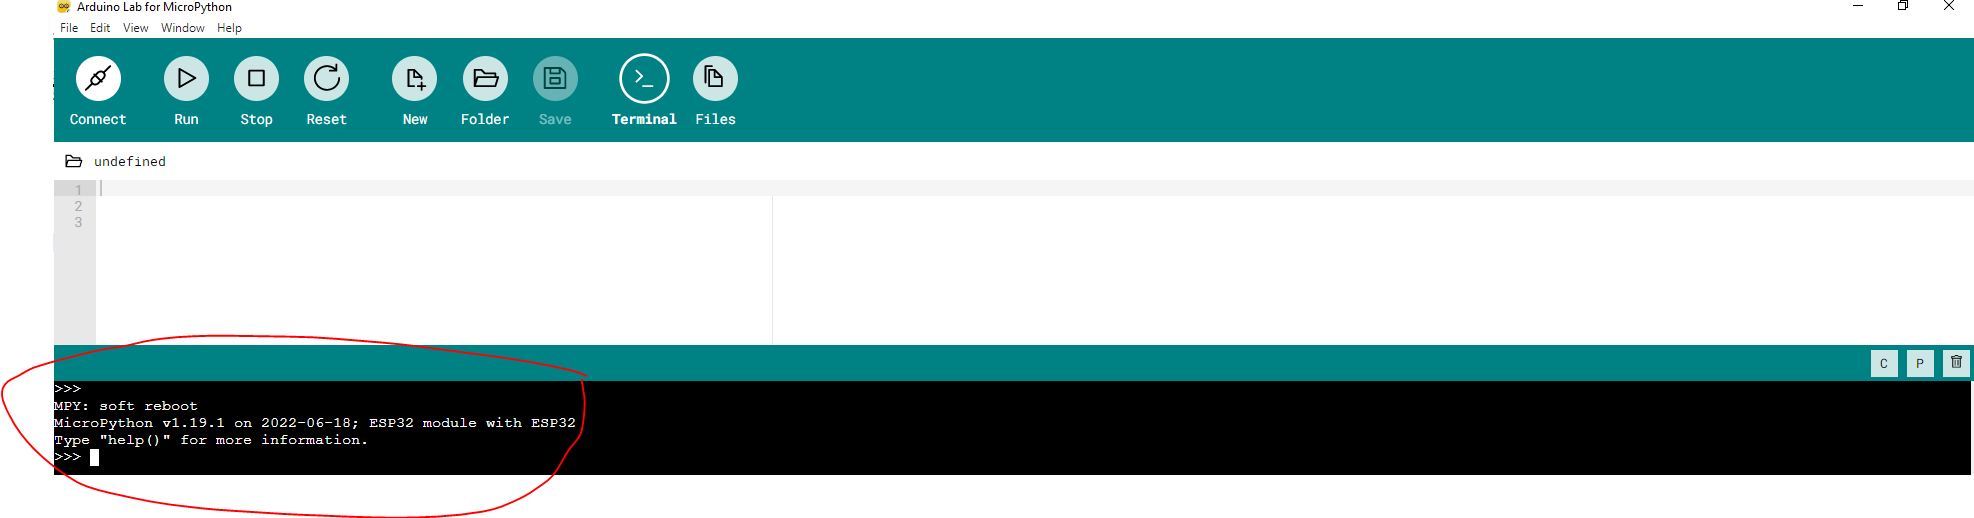
- If no issue is encountered then we should be able to access the REPL (Read-Evaluate-Print-Loop) prompt of our ESP32
Creating the Blink ESP32 code in MicroPython
- In your REPL command prompt, type in the following code. Note this would code would work if your ESP32 MCU has a built-in LED connected to the GPIO2 of your MCU.
>>> import machine
>>> import time
>>> led_pin = machine.Pin(2, machine.Pin.OUT)
>>> while True:
...     led_pin.value(1)
...     time.sleep(10.5)
...     led_pin.value(0)
...     time.sleep(0.5)
You should be able to see the built-in LED in your ESP32 MCU blinking every half a second.
Congratulations! We have successfully accessed the REPL command prompt of our ESP32 MicroPython firmware and executed the sample code using the Arduino lab for MicroPython. 🙂
We will explore more features in other future posts.
Issues
No REPL prompt is shown
First, disconnect your USB connection then reconnect it. Enter Ctrl+C in the REPL Prompt.
A fatal error occurred: Could not open COM3, the port doesn’t exist
Check if your USB connection is connected properly. Try another USB port.
Wrap up
We were able to program our ESP32 using the new tool from the Arduino team called the Arduino Lab for Micropython. The support of the Arduino team to the MicroPython ecosystem is surely an exciting development for the future of embedded MicroController programming.
We will explore more on this subject in the future. Happy Exploring!
Support Me!
I love sharing what I know and hopefully, I was able to help you. Writing helpful content takes so much time and research. If you think you like my work and I have managed to help you then please consider supporting my channel. I would be very grateful and would boost my confidence that what I am doing is making a big change in the world. (No Pun Intended!) 😉
Become a Patron!
Leave a Reply