In this article, I am going to discuss how we can create a database for our RFID Security System. The following database that we are creating in this article will be used in the future Arduino, Raspberry Pi, ESP8266, ESP32, or other MCU so stay tuned for future articles.
This is the 2nd part of our Arduino RFID Database Security System where we create a database-backed RFID system. A list of valid RFID Codes is stored in the database. We used the Arduino and the MFRFC 522 Reader in checking if the RFID tag is valid or not with the help of the ESP8266 ESP-01. Watch the following video below for a demonstration or watch it in my YouTube channel.
Why SQLLite?
Most post that you are going to see discusses the use of MySQL as their database backend but I will be using SQLLite in this article. Setting up and administration of MySQL requires some knowledge about it so I opted for a simpler solution.
So if you are planning to create a Microcontroller Application that requires a database then I highly recommend using this. An example of this is an RFID Authentication System or an Inventory Management System that uses a barcode.
What is SQLLite?
SqlLite is a “serverless” database when compared to fully functional databases like MySQL, PostgreSQL, etc that require a separate process in a “server”. It is integrated into the application so you don’t need to configure anything. You have the option to write the database details into the disk or put everything in “memory”. It requires minimal configuration and it runs in a self-contained manner which means that there is no need for the Operating System to interact with it as do normal database applications.
In this article, we will be using the Python Programming Language to create our database and insert dummy data into it.
How to create an SQLLite database?
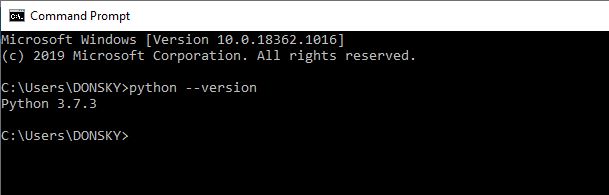
The only requirement is to install Python on your laptop or computer. I used a Windows 10 laptop here and I installed Python 3. Use google how to install or you can follow the following link
The below image is my Python version.
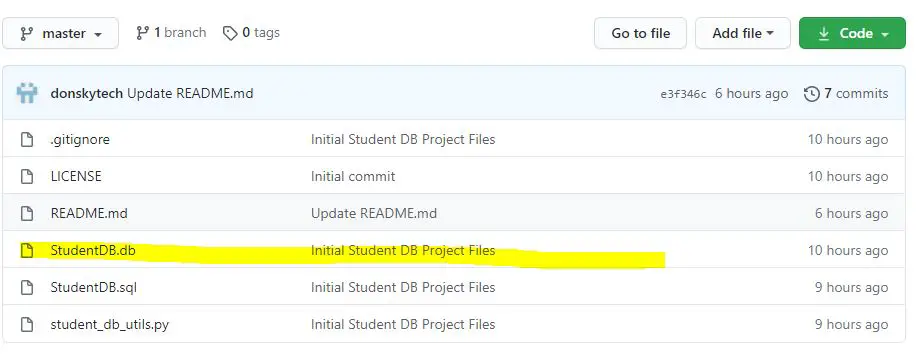
Then go to this https://github.com/donskytech/database-project and download my database project. Unzip it to any directory.
The code that creates the database is in this file student_db_utils.py and the code goes like this.
"""
Created by donsky for www.donskytech.com
"""
import os
import sqlite3

# Create DB in current file
DEFAULT_PATH = os.path.join(os.path.dirname(__file__), 'StudentDB.db')
CREATE_SQL_FILE = os.path.join(os.path.dirname(__file__), 'StudentDB.sql')


def db_connect(db_path=DEFAULT_PATH):
    con = sqlite3.connect(db_path)
    return con


def create_table():
    db_conn = db_connect()

    with db_conn:
        try:
            db_conn = db_connect()
            cursor = db_conn.cursor()
            print("Successfully Connected to SQLite")

            with open(CREATE_SQL_FILE, 'r') as sqlite_file:
                sql_script = sqlite_file.read()

            cursor.executescript(sql_script)
            print("SQLite script executed successfully")
            cursor.close()

        except sqlite3.Error as error:
            print("Error while executing sqlite script", error)

    print("Successfully created table!")


def create_student_task(conn, student):
    """
    Create a new student task
    :param conn:
    :param student:
    :return:
    """

    sql = ''' INSERT INTO Students(student_id, name, rf_id_code)
              VALUES(?,?,?) '''
    cur = conn.cursor()
    cur.execute(sql, student)
    conn.commit()
    return cur.lastrowid


def create_students():
    # create a database connection
    db_conn = db_connect()

    with db_conn:
        # students
        student1 = (2000, 'Adam Smith', "00-11-22")
        student2 = (2001, 'Steve Davidson', "00-33-44")
        student3 = (2002, 'Michael Trent', "00-55-66")

        # create student
        create_student_task(db_conn, student1)
        create_student_task(db_conn, student2)
        create_student_task(db_conn, student3)


def main():
    create_table()
    create_students()


if __name__ == '__main__':
    main()
The following are the important things to take note about the code:
- Line 12 -14 – Creates the database for you
- Line 17-36 – Creates the table Students
- Line 39-52 – This is a function that inserts records into our table Students
- Line 55-68 – Create sample student entry into our table
- Line 61-63 – Is the list of sample rows of our students
- Line 71-73 – is the main function that we use to start our application
To run the code, delete the file StudentDB.db first in your folder where you unzip the file. This is the SQLLite database that I have created by default but we will be recreating it in the next command.
To create the database, go to the folder where you unzip the file. Open a command prompt then go to the directory and execute the following command.
python student_db_utils.py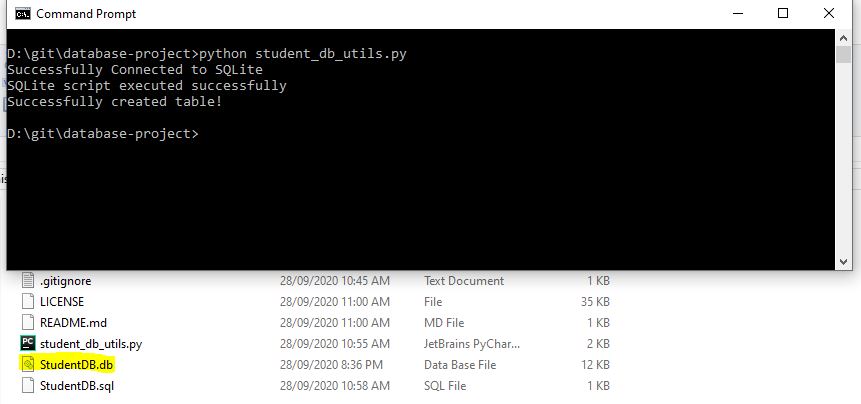
You should be seeing the file StudentDB.db created in your directory. This is the SQLLite database that we will be using.
Viewing the SQLLite database using a GUI
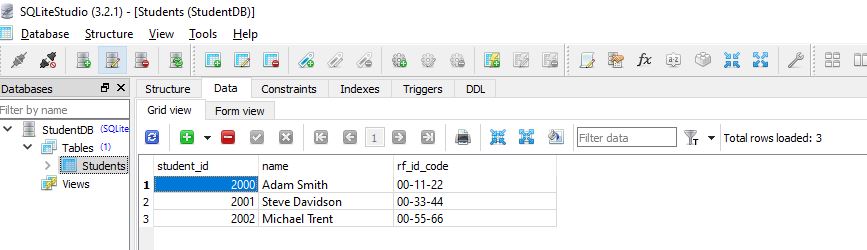
We can use a graphical user interface (GUI) tool to view our database so click this link to download the tool. This is the SQLLite studio, unzip it to any folder then follow the following steps
- Double click SQLiteStudio.exe
- Click the Database Menu then Add Database
- In the popup, click the + green icon then look for the StudentDB.db then click OK
- In the left Pane, Double click the StudentDB. Click the Tables then the Students.
- Click the Data Tab and we will see the table below that displays the sample entries in our Students Table.
About the RFID Database Security System
In future articles, we will use the following database in our RFID Database Security System Microcontroller application.
Happy Exploring!
Leave a Reply