The ESP8266 Wifi modules comes with it’s own lightweight file system called SPI Flash Filing System (SPIFFS). It is designed to be used for low ram usage devices such as the ESP8266 microcontroller module. In this post we are going to show how to install the ESP8266 SPIFFS File Uploader.
Note that a deprecation warning is now seen from the documentation of the ESP8266 Arduino Core. The suggested alternative is to use the LittleFS file system which we are going to explore also in a future post.
What is SPIFFS?
SPIFFS allows you to access the flash chip memory of the ESP8266 so that you can install different files being used by your program.
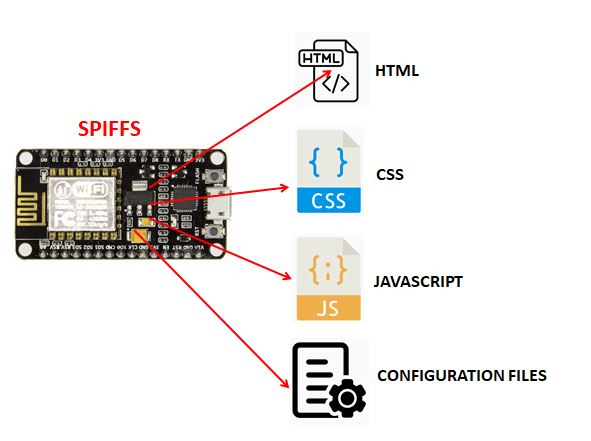
You will notice that in our previous post about creating a web server using the NodeMCU ESP8266 we created all our html/js/css files in the program itself. Look at the code at this link.
String prepareHTML() {
  String html = "<!DOCTYPE html>\n"
                "<html>\n"
                "  <head>\n"
                "   <meta charset=\"UTF-8\">\n"
                "   <meta name=\"viewport\" content=\"width=device-width, initial-scale=1\">\n"
                "   <title>NodeMCU ESP8266 Web Server</title>\n"
                "   <style>\n"
.
. //More lines hidden
}
Yikes! It works in our case but it is very tedious and hard to maintain and edit. It would be better if we could upload these files as actual “file” in the ESP8266 Flash memory and access it at runtime.
Some of the features and limitations of the SPIFFS are the following.
- It stores all files in a “flat” structure so directories are not supported.
- File Names should be limited to 32 chars
- The “/” is allowed as file name so the following file is valid “/sample/test.html”
We are going to use the ESP8266 SPIFFS File Uploader for us to upload our static files into the Flash File System. The following are the steps on how to do this.
Install the ESP8266 SPIFFS File Uploader in Arduino IDE
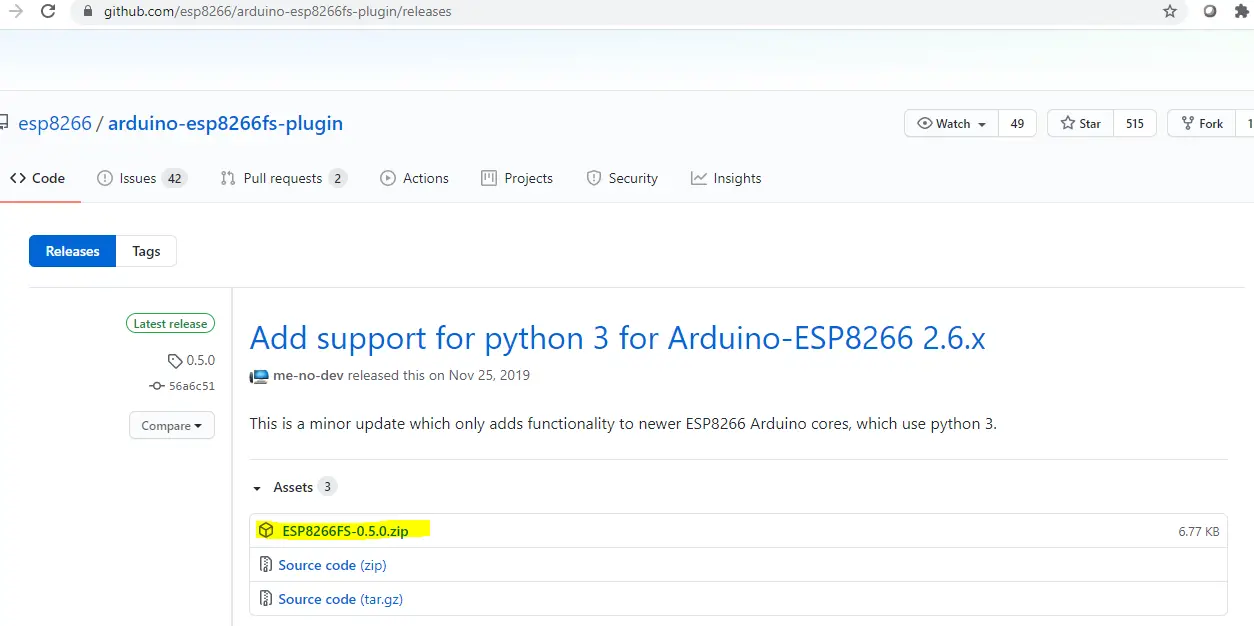
1. Go to the download page of the File Uploader Plugin. Download the latest zip file.
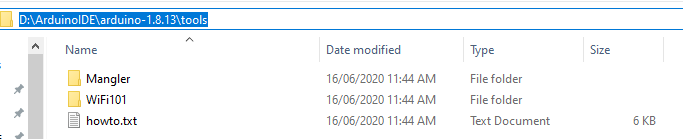
2. Go to where you installed your Arduino IDE then tools folder. I installed mine in this directory ‘D:\ArduinoIDE\arduino-1.8.13\tools’.
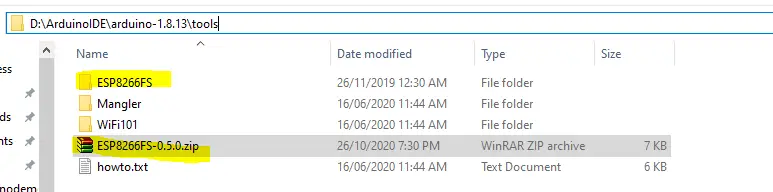
3. Unzip your downloaded ESP8266 File Uploader in this directory. Notice that it will create a folder called ESP8266FS and inside that folder is a directory called “tool” and a file named “esp8266fs.jar” inside it.
Note: If a new JAR file of the plugin comes out and you are just upgrading then just overwrite the existing JAR file with the newer version.
4. Restart your Arduino IDE.
5. To verify that the ESP8266 SPIFFS File Uploader is properly installed in our Arduino IDE then go to Tools and check if it is there.
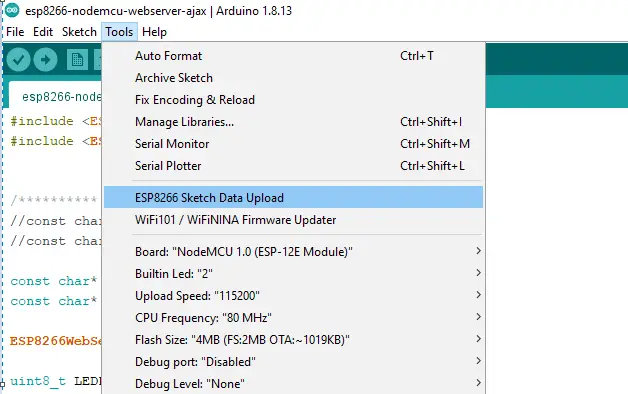
Once you see that it is there then you are now ready to upload your files into the Flash File System of the ESP8266.
Thats It!
Happy Exploring!
Leave a Reply