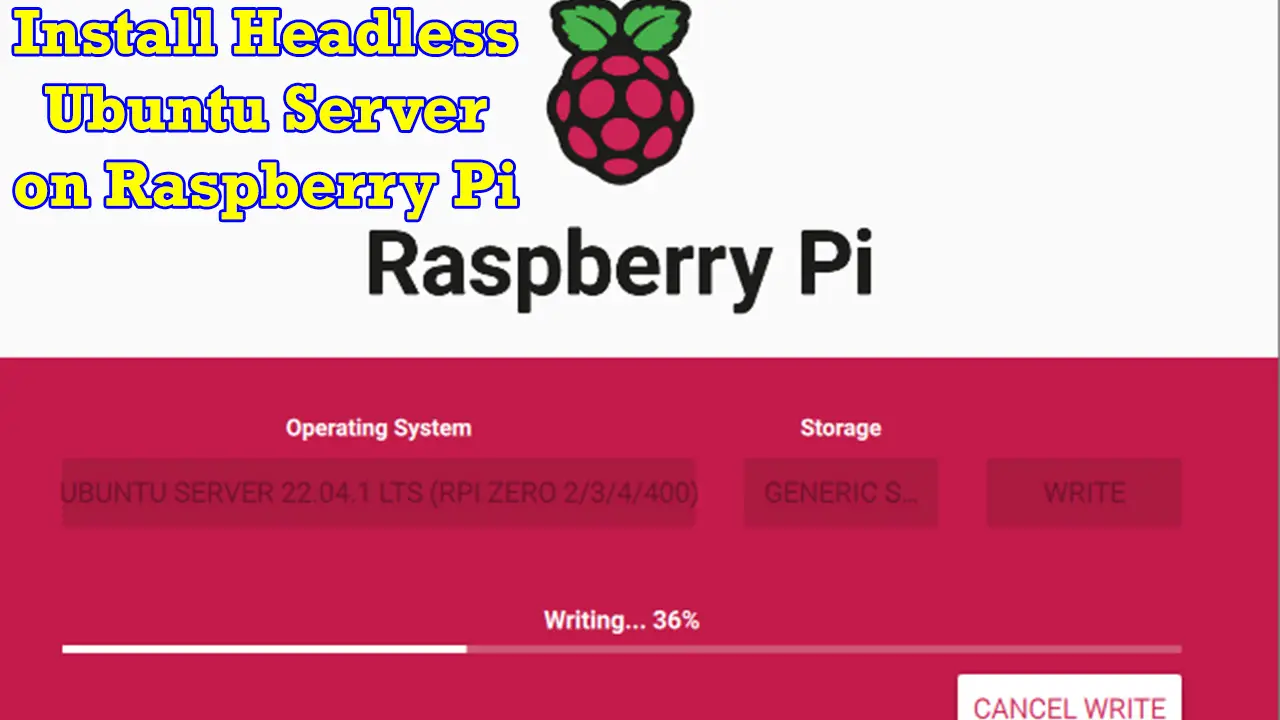
Introduction
The Raspberry Pi ships with no pre-installed Operating System (OS) but that makes it much more powerful as we can configure it with any OS that we like! In this post, we are going to install a headless setup of Ubuntu Server in our Raspberry Pi 4 without the need for an external keyboard or monitor using a Windows machine.
Prerequisites
You need the following components/devices to follow along with this post.
- Raspberry Pi (I used Raspberry Pi 4) – Amazon | AliExpress
- SD Card (I used 16GB) – Amazon | AliExpress | Bangood
- SD Card Reader/Writer – Amazon | AliExpress | Bangood
Disclosure: These are affiliate links and I will earn small commissions to support my site when you buy through these links.
I am using a Windows Operating System (OS) in the setup process.
Steps
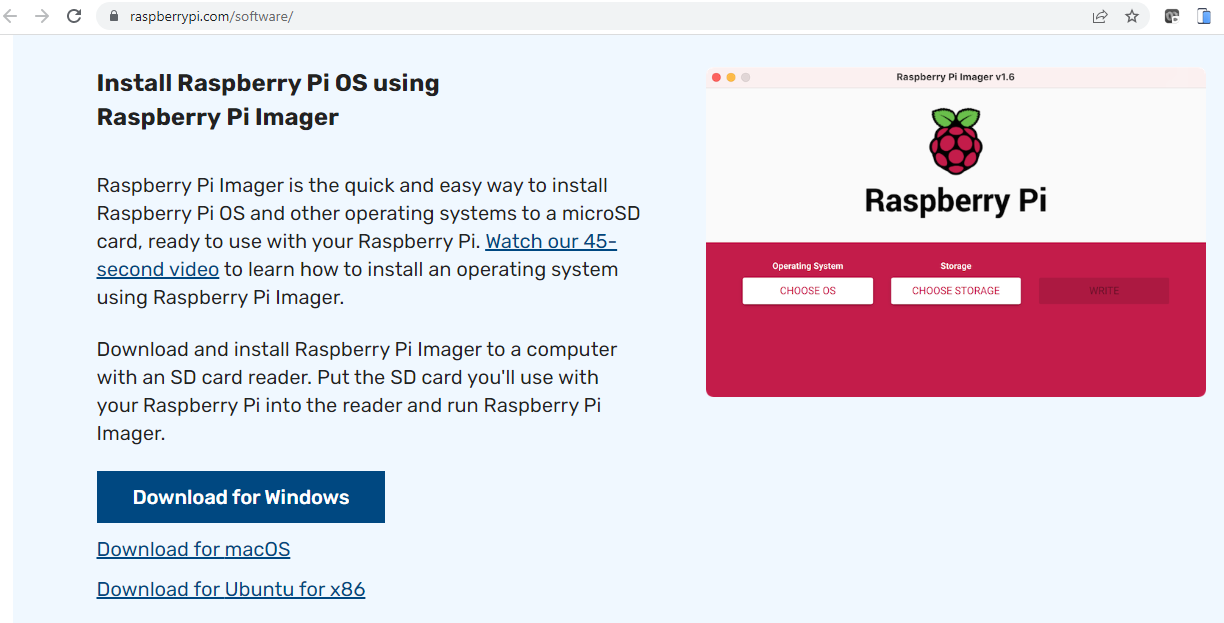
Download the Raspberry Pi Imager
Go to this site and download the Windows version of the imager.
Insert your SD Card Reader/Writer
Insert your SD Card into your SD Card Reader/Writer.
Make sure that it is detected in your windows prompt and if it is has files in it then it will be overwritten.
Select the OS
Run the Raspberry Pi Imager and wait for the following screen to be shown.

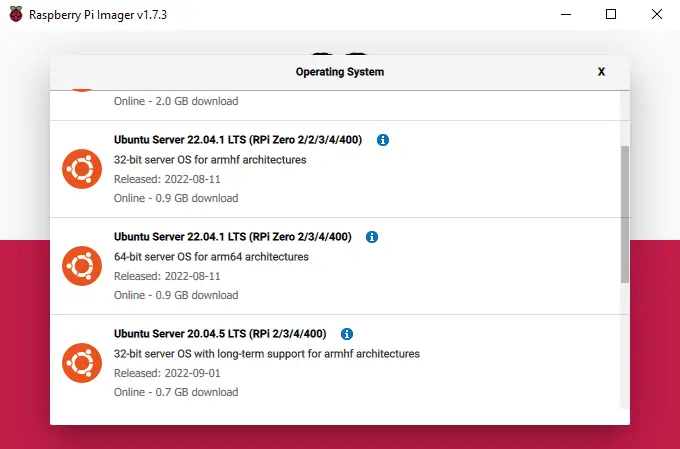
Click the CHOOSE OS button. In the list of Operating systems, select Other general-purpose OS, Ubuntu, and then Ubuntu Server. At the time of this writing, I will be choosing the Ubuntu Server 22.04.1 LTS (RPi Zero 2/3/4/400).
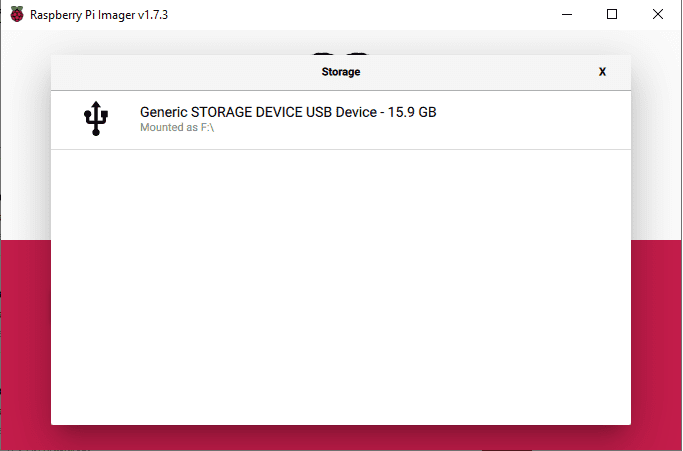
Click the Choose Storage and locate your SD Card.
Click the gear icon in the lower right-hand corner.
We will set the following items
- Set hostname – (Mine is raspberrypi4)
- Enable SSH – Check
- Use Password Authentication
- Set Username and Password – Check
- Username = “pi” and Password is according to you
- Configure Wireless Lan and set the Wifi Password
- Set your Locale if you want ( I choose Asia/Manila)
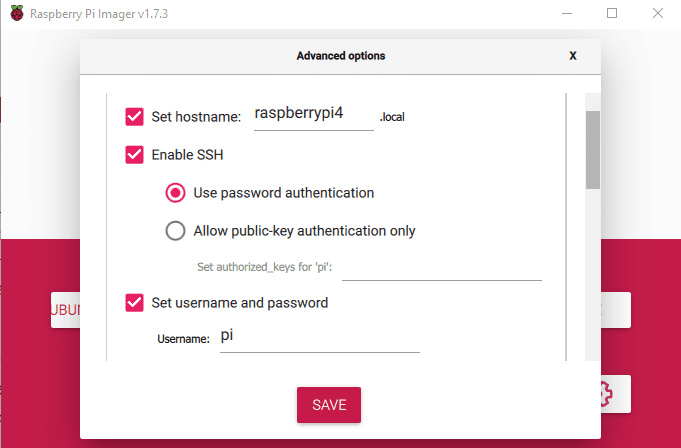
Click the Save button and then click the Write button.
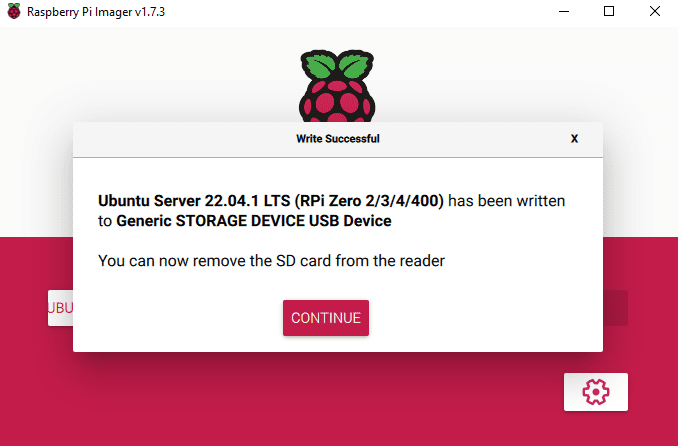
Note: Don’t set your Wifi into any 5G as I had problems connecting to it.
Wait for the writing to finish as it may take some time. Remove your SD Card Reader/Writer when this message pops up.
Power your Raspberry Pi
Insert the SD card into the SD Card slot of your Raspberry Pi device. Power it with the official power plug.
Get the Raspberry Pi Address
Since we did not assign an IP address for our Raspberry Pi then it will be assigned a dynamic IP by your wifi network. To figure out what the assigned IP address is then we will use this free network IP scanner called the Angry IP Scanner. You can download the installer from here.
Make sure that you are connected to the same Wifi SSID that we configured in the imager then open the AngryIP scanner app. Click the start button and wait for it to finish the scanning process.
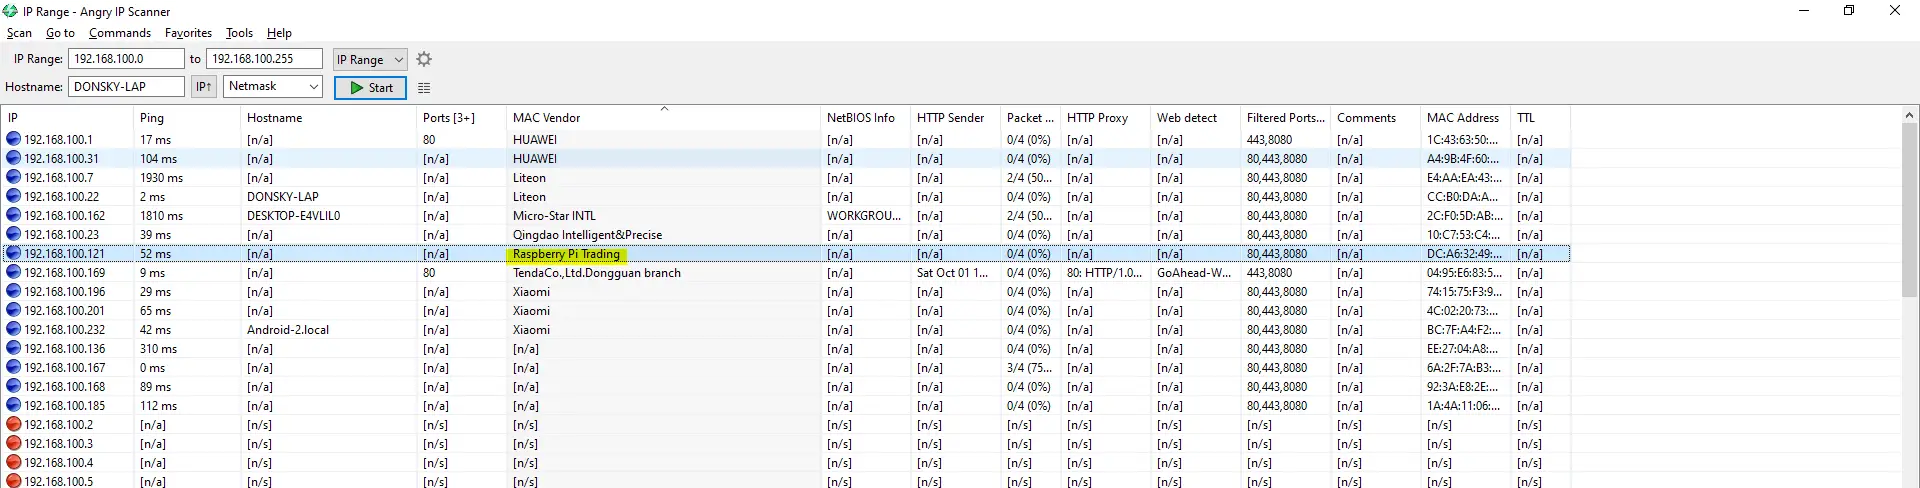
Sort the table by clicking the MAC vendor column and you would see the Raspberry Pi something there.
Take note of the IP Address on the left-hand side of the row. We will use it in the next section.
Connect to your Raspberry Pi using SSH
We will use SSH to connect to our Ubuntu Server running on our Raspberry Pi so to do that we will use Putty in connecting to it. Download putty from here.
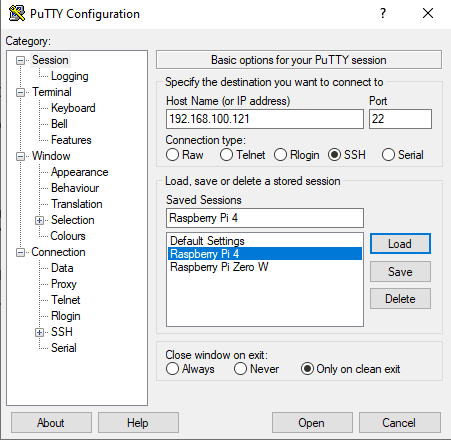
Enter your username and password that we configured in the Raspberry Pi Imager.
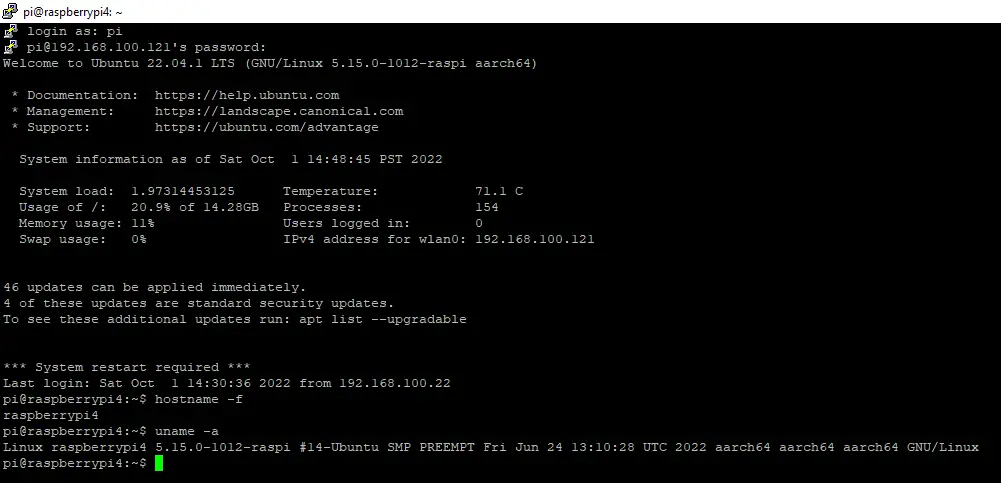
If you see the following image displayed then congratulations!
Wrap up
We have outlined the steps on how to install a headless setup of an Ubuntu server on your Raspberry Pi. You are now ready to start exploring this awesome Ubuntu OS in your projects!
Start Building Internet of Things (IoT) projects! Happy Exploring!
Leave a Reply