If your Internet of Things (IOT) project requires connection to your Wifi or needs to send or receive data from external site then the ESP8266 Wifi chip should help you accomplish it. In this post we are going to show steps in installing the Add On (ESP8266 Core) developed by the ESP8266 community so that you can program this chip using your Arduino IDE.
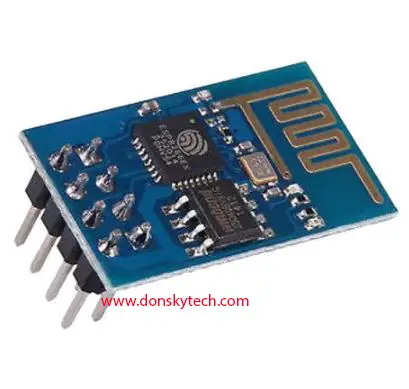
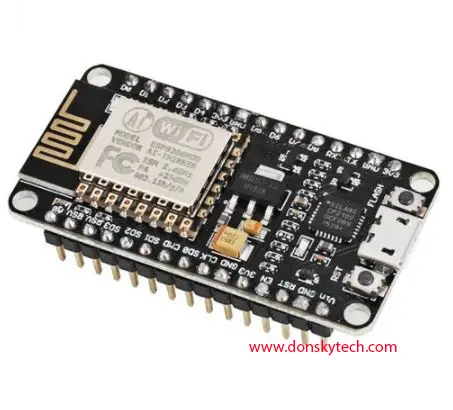
The ESP8266 comes in different modules like the ESP-01 or the ESP-12E. The NodeMCU ESP12-E devkit comes pre-installed with its own on-board USB-to-UART so you can program this directly in your laptop or workstation. Programming the ESP-01 can be done using your Arduino if you have not bought a programmer for it. I have created an article on how to do that.
When you buy this wifi chip it sometimes come pre-installed with its own firmware and you can execute AT Commands to connect to your wifi . There are lots of development platforms that you can use to program this chip like the LUA but we will be using ESP8266 community released addon on top of the Arduino IDE. This is what we will be using in most articles in this site and is what I suggest for beginners.
Steps
The following are the steps needed to install the ESP8266 Core to your Arduino IDE.
1. Download the Arduino IDE.
If you have not done so, download the latest Arduino IDE from this link. Unzip it to a directory of your choice then click the arduino.exe
2. Go to File -> Preferences then add the following url to the Additional Board Manager URL’s.
http://arduino.esp8266.com/stable/package_esp8266com_index.json
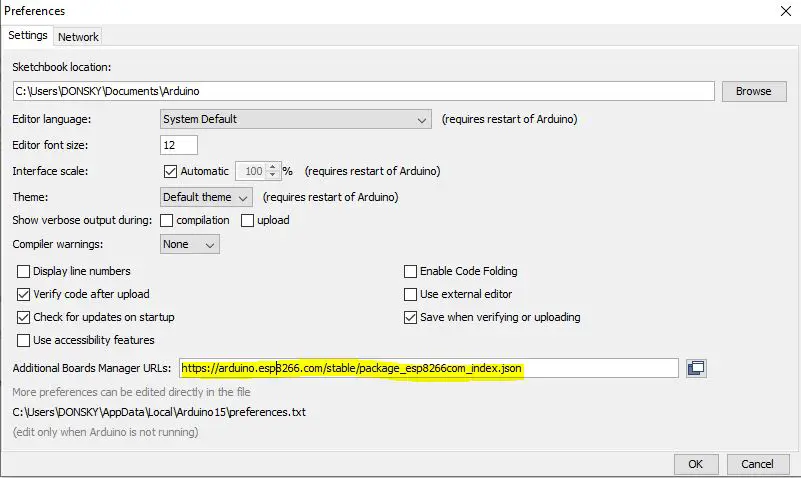
Note: If there are other url’s here then just put a comma. Click OK.
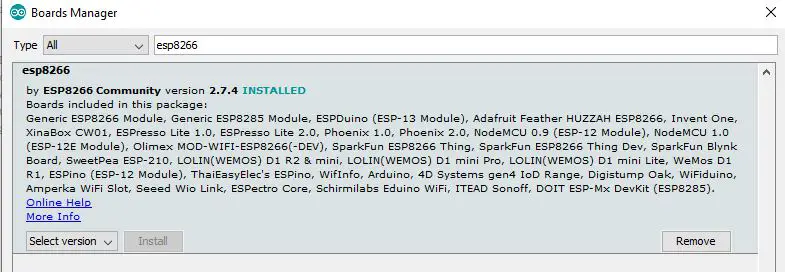
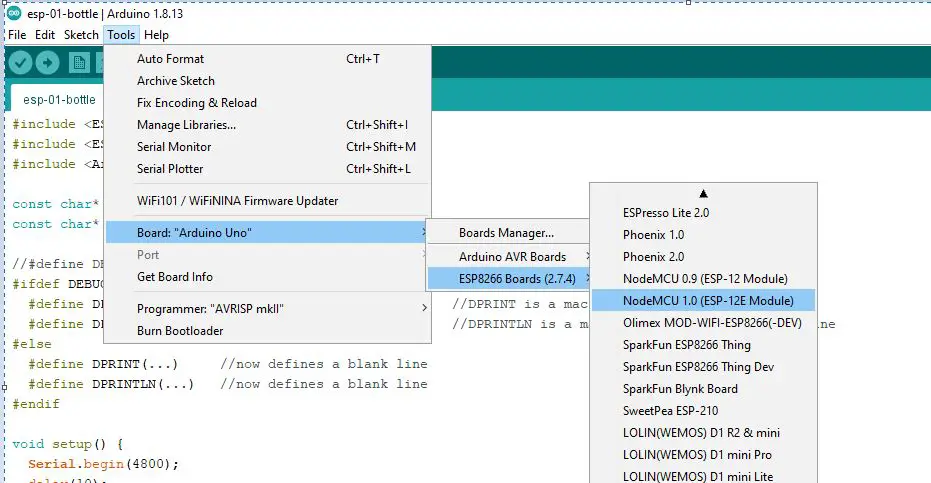
3. Go to Tools -> Board -> Board Manager. Type esp8266. Click Install.
4. In this article we are going to install it in a NodeMCU ESP-12E devkit so set your board to NodeMCU 1.0 (ESP-12E)
5. Plugin your NodeMCU ESP12-E into your laptop or workstation using your USB Cable.
6. To load the ESP8266 Core project to our NodeMCU microcontroller, we will need to deploy a sample sketch. So open File -> Examples -> Basics -> Blink. Click the upload and wait for it to be finished.
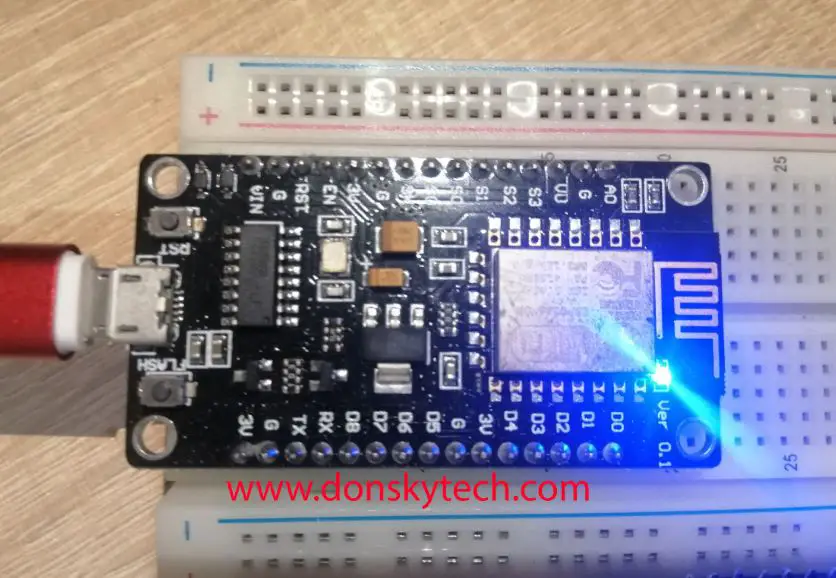
If you see that the NodeMCU built in LED is blinking then it means that installing ESP8266 Core to your Arduino IDE is successful. You are now ready to program much complex sketch.
Thats It!
Happy Exploring!
Leave a Reply