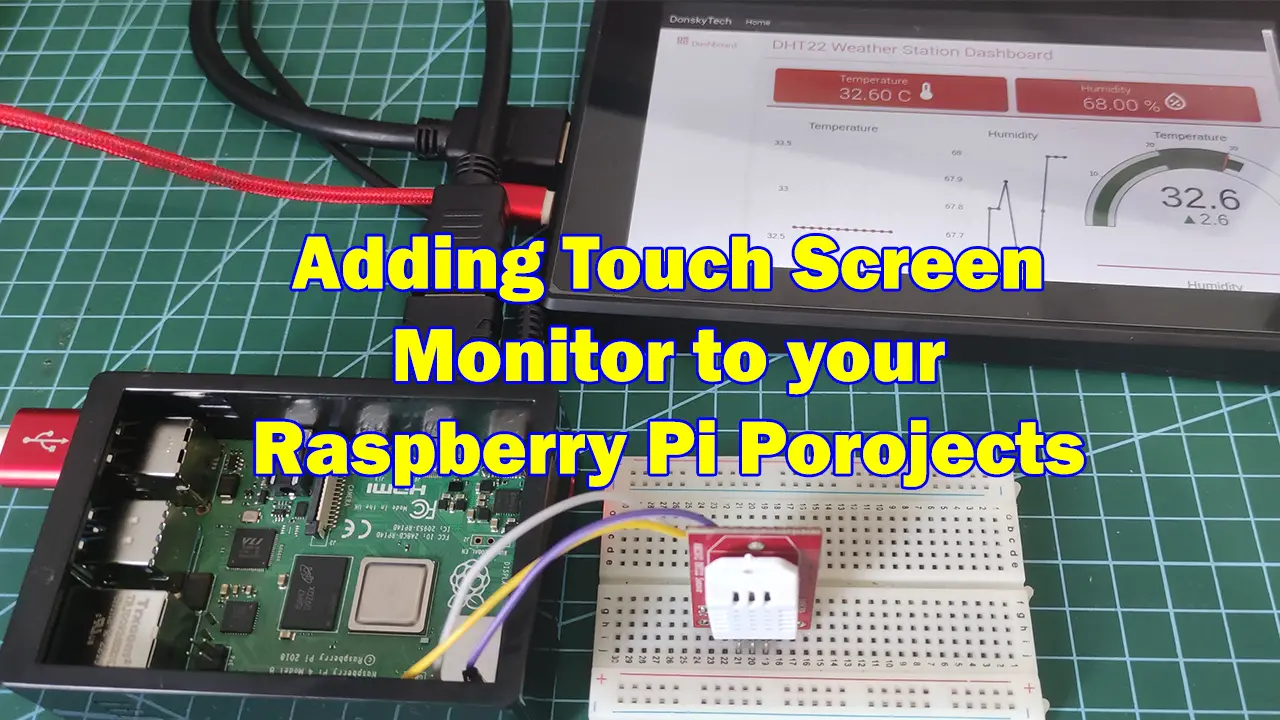
Introduction
So you have finished working on your Raspberry Pi-powered embedded project and you need a way to display your user interface to your users. An example project is what I did Raspberry Pi DHT22 Weather Station Project where I displayed real-time sensor readings of my temperature and humidity. Attaching a keyboard and a monitor to your Raspberry Pi device is a bit clunky so it is always a good idea to attach a touchscreen monitor to display or control your project.
If you want to see a video demo presentation of this project then please see below or watch it on my YouTube channel.
Why do you need a separate touchscreen monitor for your Raspberry Pi?

Some Internet of Things (IoT) project needs to display information to the user such as a web application that displays real-time sensor readings or just awaiting input from the users. While the Raspberry Pi is powerful enough to support connection with high-end LED display monitors(like 4K displays) but attaching such peripherals is not a practical setup. This is one of the reasons why portable touchscreen displays are a good option
In my case here, I only needed to monitor the real-time temperature and humidity sensor readings of my DHT22 in my area so attaching a big monitor to my Raspberry Pi is out of the question. If you are interested in knowing how I created my weather station project then please see the below posts.
Related Content:
Display Real-Time Updates Using Python, Flask, and WebSocket
Raspberry Pi DHT22 Weather Station Project
How to set up a touchscreen monitor display on your Raspberry Pi?
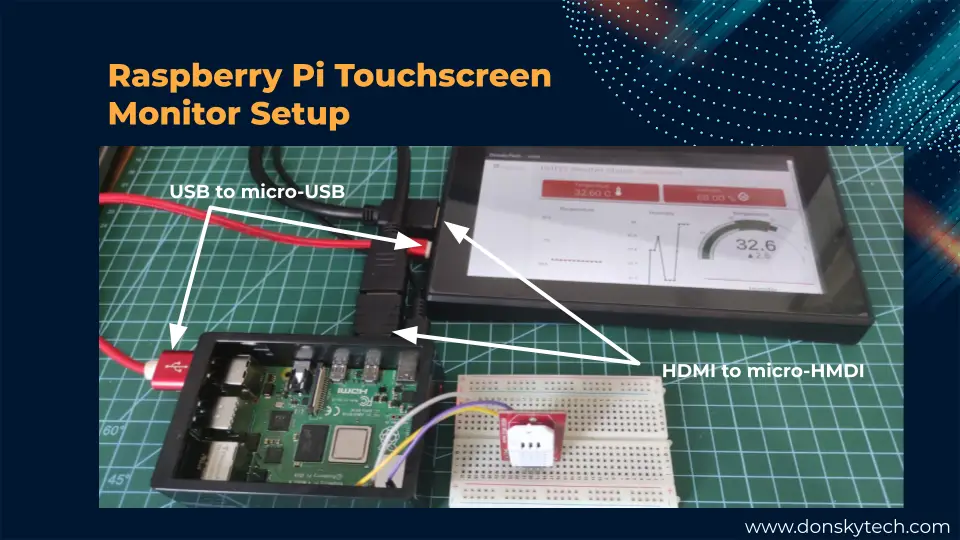
Adding a touch screen monitor display to your Raspberry Pi is really easy. Some of these displays are powered up by USB and use the built-in HDMI connection of your Raspberry Pi.
I have used the Waveshare For Raspberry Pi 7-inch Capacitive Touch Screen on my current setup and I have just followed the connections above.
I have just added the following additional parameters to my config.txt on my Raspberry Pi image on the SD Card. For additional setup then please see this.
hdmi_group=2
hdmi_mode=87
hdmi_cvt 1024 600 60 6 0 0 0
hdmi_drive=1
If you are looking for plug-and-play touchscreen monitors with no additional setup then you can check out my list of cool touchscreen monitors below.
Guide to Choosing a Raspberry Pi touch screen display
Choosing the right touchscreen display that you would connect to your Raspberry Pi requires some practical considerations. As we are talking about touchscreen display here so this is probably the first thing to check on your list.
Screen Size
The physical size of the touchscreen monitor is of foremost importance especially if you are going to package your embedded projects in a custom case. The usual sizes range from 5 inches to 11 inches if you want something more portable.
Resolution
The resolution refers to how crisp or vivid you want to display your user interface to your user. Resolution as defined is how many pixels your touchscreen display in both horizontal rows and vertical columns. In my project here, I have used a resolution of 1024 X 600 pixels.
Connection
The Raspberry Pi allows you to connect your display thru the two micro HDMI ports available. aside from that, you may also use the DSI port or the GPIO header using the I2C or SPI protocol. You may want to consider this one initially when you are designing your project as your type of connection might dictate how your project would be connected with each other.
Power Consumption
If your project would be running on batteries then power consumption would come into the picture. LCD and LED displays are power-intensive so you should be adding them into your power computation. But if this is no issue and your project has access to a regular AC supply then choosing a high-resolution and portable display is a must.
Ease of setup
Some of the Raspberry Pi touchscreen monitors require some setup to make it work but some monitors are plug and play.
Popular Touchscreen Display for your Raspberry Pi
There are quite a lot of options to choose from while shopping and if you would follow the guidelines above then you can choose the most appropriate touchscreen monitor for your project.
Disclosure: These are affiliate links and I will earn small commissions to support my site when you buy through these links.
Official Raspberry Pi Display
First on this list is the official portable touchscreen display from the Raspberry Pi company itself.
| Screen Size | 7 inches |
| Screen Resolution | 800 X 480 pixels |
| Connection | DSI or GPIO |
| Product Dimension | 0.79″D x 7.64″W x 4.33″H |
| Touch Panel | Capacitive |
More information about this device can be found here.
Waveshare 7inch display
| Screen Size | 7 inches |
| Screen Resolution | 1024 X 600 pixels |
| Connection | HDMI, USB |
| Product Dimension | 8.2 x 5.9 x 2.1 inches |
| Touch Panel | Capacitive |
I like how easy to configure this touchscreen display with my Raspberry Pi as I can utilize the built-in micro-HDMI port. I then can use the USB to power up this capacitive touch panel monitor.
More information about this device can be found here.
UCTRONICS 7 Inch IPS Touch Screen
This plug-and-play Raspberry Pi touchscreen monitor is perfect for your device as it requires less setup.
| Screen Size | 7 inches |
| Screen Resolution | 1024 X 600 pixels |
| Connection | HDMI, Micro USB |
| Product Dimension | 6.38 x 3.86 x 0.51 inches |
| Touch Panel | Capacitive |
More information about this device can be found here.
Elecrow 7-inch Touch Screen
| Screen Size | 7 inches |
| Screen Resolution | 1024 X 600 pixels |
| Connection | HDMI, USB |
| Product Dimension | 6.46 x 3.98 x 0.35 inches |
| Touch Panel | Capacitive |
This is another excellent portable touchscreen monitor that is plug-and-play and does not require extra setup to make it work.
More information about this device can be found here.
Wrap Up
Displaying your Raspberry Pi IoT projects with portable touch screen monitors would add more flare to your project. Having your user see the real-time display of your sensor readings in these wide-screen monitors other than their mobile phones is an excellent setup. There are quite a lot of touchscreen displays on the market today and setting them up is quite easy.
I hope you learned something! Happy exploring!
Leave a Reply