- Introduction
- Prerequisites
- How to use MicroPython Thonny IDE?
- Download the Thonny IDE
- Setup the MicroPython Interpreter
- Testing the REPL connection to our MicroPython MicroController
- Set up our project folder
- Creating our first program
- How to upload files to MicroController from Thonny?
- How to interrupt the execution of the running MicroPython program?
- How to run Python file in MicroPython REPL Prompt?
- Wrap Up
Introduction
If you want to get started developing MicroPython Internet of Things (IoT) projects then I highly recommend the Thonny IDE (Integrated Development Environment) as a development tool.
If you want to see this project in a demo presentation then please see the below video or watch it on my YouTube channel.
Prerequisites
Prepare any MicroPython-compatible MicroController Unit (MCU) board such as the ESP32/ESP8266 or Raspberry Pi Pico. In this post, I will be using the NodeMCU ESP32s board.
- ESP32 – Amazon | AliExpress | Bangood
- Raspberry Pi Pico – Amazon | AliExpress
- ESP8266 – Amazon | AliExpress | Bangood
- Breadboard – Amazon | AliExpress | Bangood
- Jumper Wires – Amazon | AliExpress | Bangood
Disclosure: These are affiliate links and I will earn small commissions to support my site when you buy through these links.
Download the required MicroPython firmware for your device and install it accordingly. You can follow the link below if you don’t have an idea of how it is done.
Related Content:
How to install MicroPython on ESP32 and download firmware
How to use MicroPython Thonny IDE?
Download the Thonny IDE
Go to the Thonny official site and download the appropriate IDE for your operating system. This IDE is available in major operating systems such as Windows, Mac, or Linux platform.
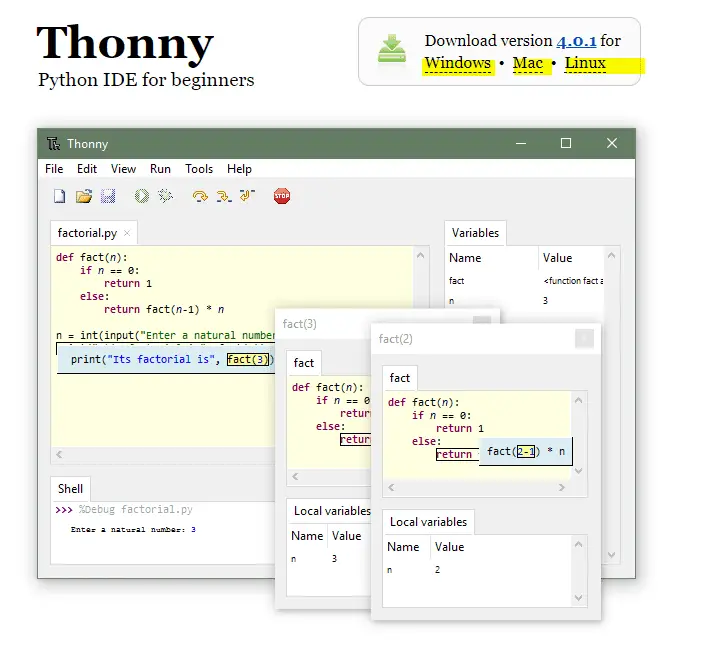
I am using Windows in my workstation so I downloaded the Windows-compatible IDE for me.
Setup the MicroPython Interpreter
Connect your MicroController USB to your laptop at this point.
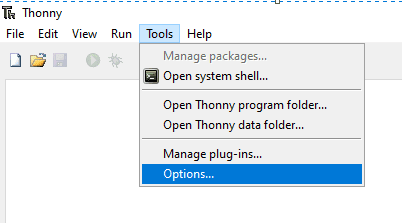
Once you have installed the Thonny IDE then run it. Set the MicroPython interpreter by going to Tools then Options.
Click the Interpreter tab and in the drop-down, select the appropriate MicroPython firmware for your device.
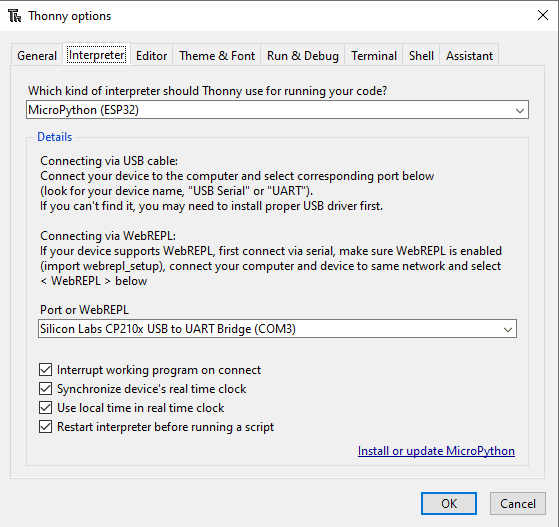
Notice in the image above that my ESP32 MCU connected to COM3 of my laptop ports was automatically detected by the Thonny IDE. Click OK.
At this point, it means that we have properly configured our Thonny IDE to use the MicroPython firmware in my ESP32 MCU.
If for some reason your MicroController board was not detected then make sure that it is properly connected and that the appropriate MicroPython firmware is downloaded to it.
Testing the REPL connection to our MicroPython MicroController
We can access the REPL (Read-Evaluate-Print-Loop) prompt of our MicroPython firmware by doing the following steps.
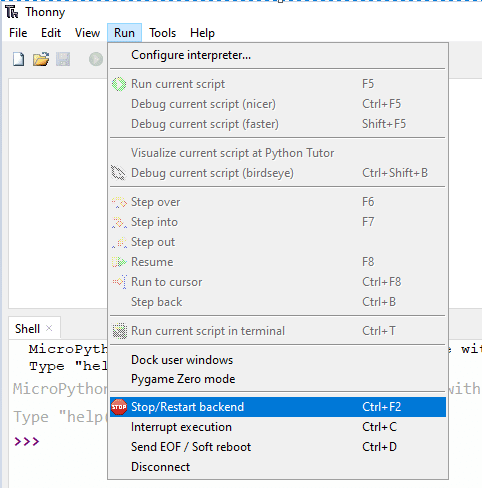
Click the Stop/Restart backend button

Or you can go to the Run menu and click the Stop/Restart backend menu.
If everything is okay then you can type the following command in the shell window below beside the >>> symbol.
help()You should be able to see the following message displayed.
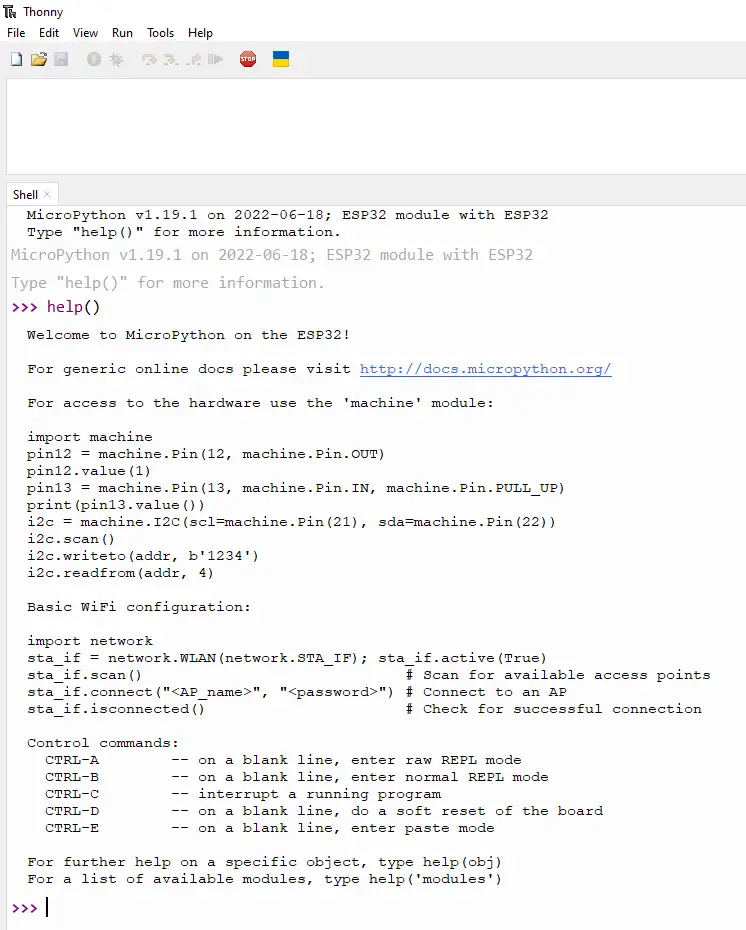
Using REPL you can type in your MicroPython code start doing minor tests and see the live effect with your MicroController board without uploading anything to the file system of your MCU.
A sample of how it is done is shown below.
Set up our project folder
In this step, we are going to set up our root project directory where we will create our project files. Click the View menu and select the Files
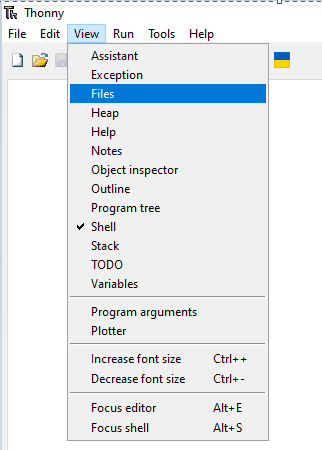
This will open up new view sections in the left-hand pane where you can see files that are in your local file system and your MicroController device.

By default, the Device View section will show you the files that are inside your MCU file system. If you have just downloaded your MicroPython firmware to your MCU board then you will see the boot.py and the main.py
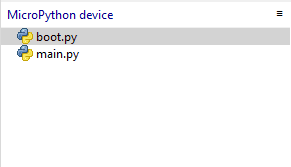
What are the boot.py and the main.py?
- boot.py – this script is executed when your MicroController boots up. You can set up various configurations in this file.
- main.py – this is the main script of your Python program and gets executed after the boot.py.
Creating our first program
In the Files panel, select where you want to save your program. I placed it in the following directory.
c:\temp\thonny_demo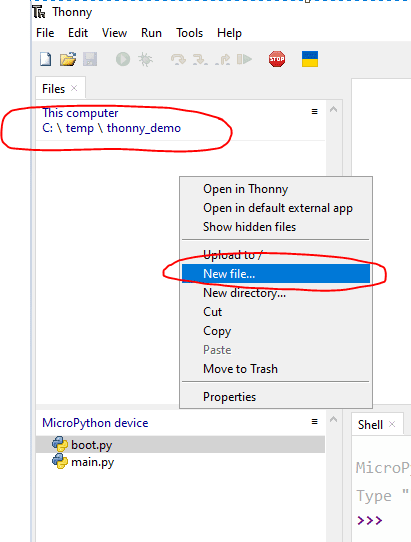
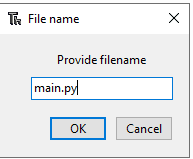
Right-click in the Files panel and select New File and name it main.py
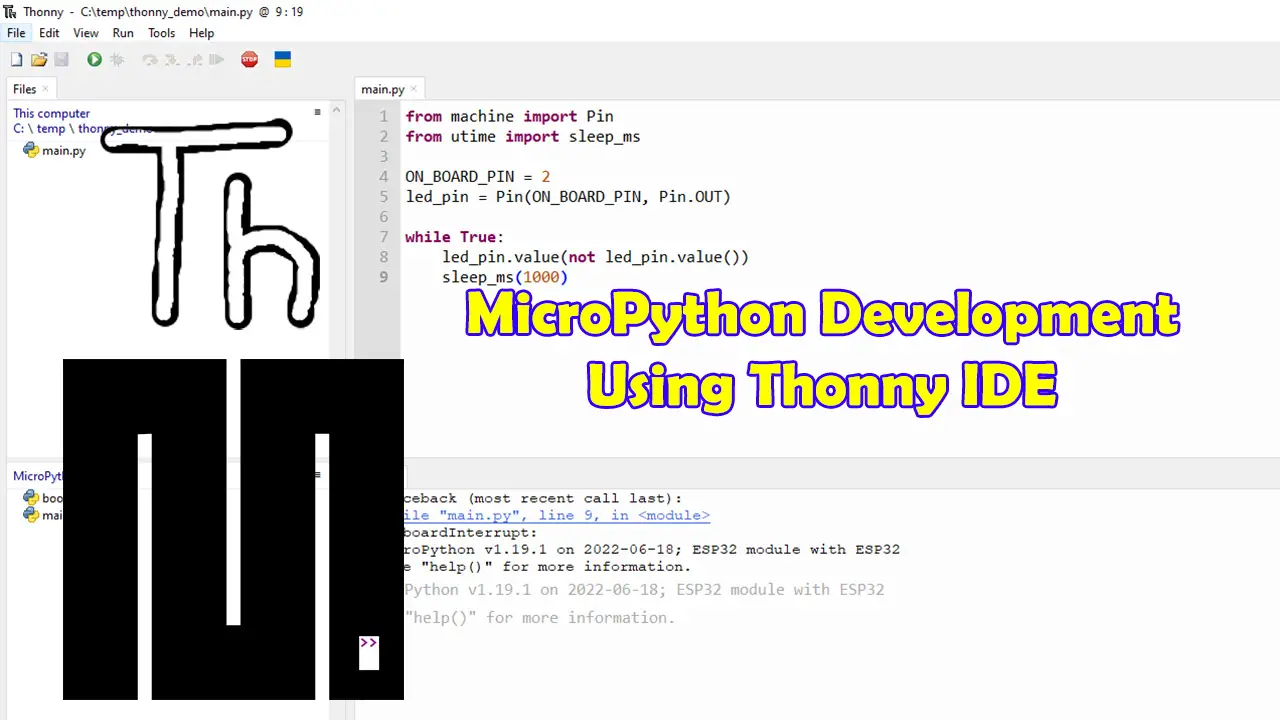
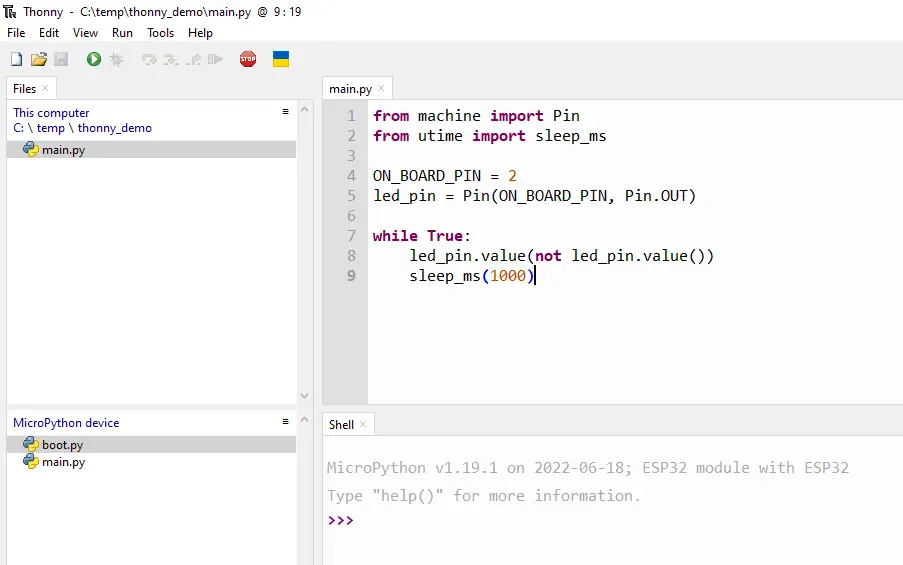
In the code editor section, type in the following code. This will blink the onboard LED in your MCU.
from machine import Pin
from utime import sleep_ms

ON_BOARD_PIN = 2
led_pin = Pin(ON_BOARD_PIN, Pin.OUT)

while True:
    led_pin.value(not led_pin.value())
    sleep_ms(1000)
This is how our program looks at this point.
To run our program, then just click the “Run Current Script” button
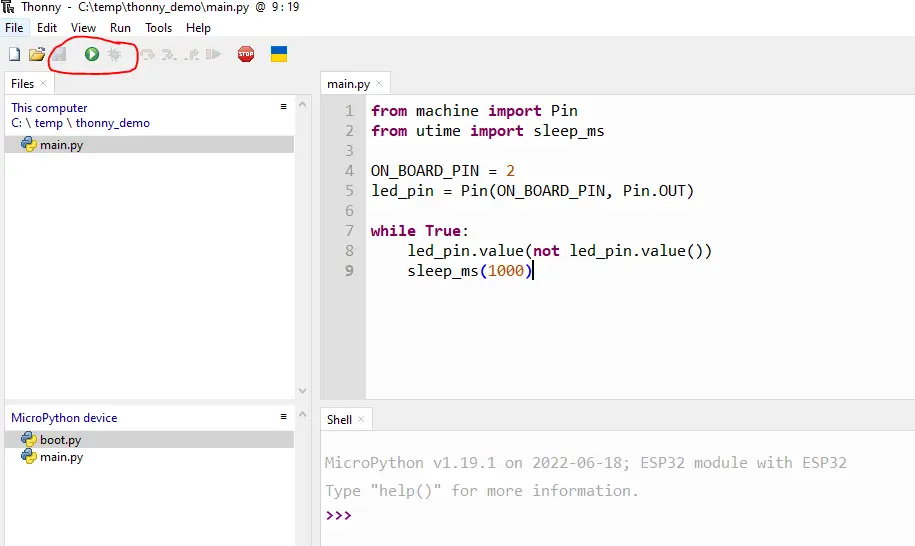
If everything is working correctly then you should be seeing the onboard LED blinking.
How to upload files to MicroController from Thonny?
Clicking the Run Current Script button will not copy anything into the file system of your MicroController board. If you want to upload it directly into the file system then you can do the following.
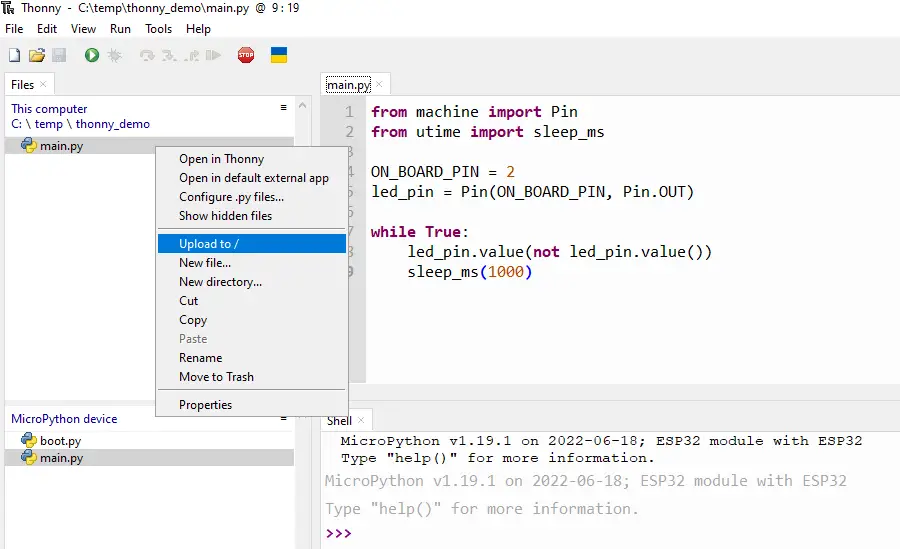
Select the file you wish to upload and right-click on it. Click the “Upload To” menu.
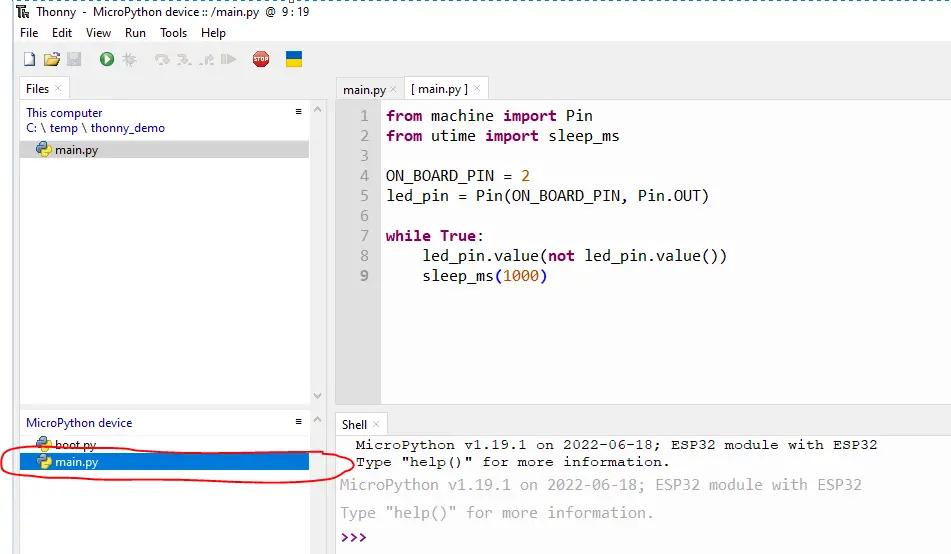
If you now click the main.py in the MicroPython device panel then you would notice that it was updated to reflect the changes that we did in the code editor.
If you now click the Reset or reconnect the USB plug then you will notice that the onboard LED is blinking. This means that our custom main.py was executed when it was restarted. Great!
How to interrupt the execution of the running MicroPython program?
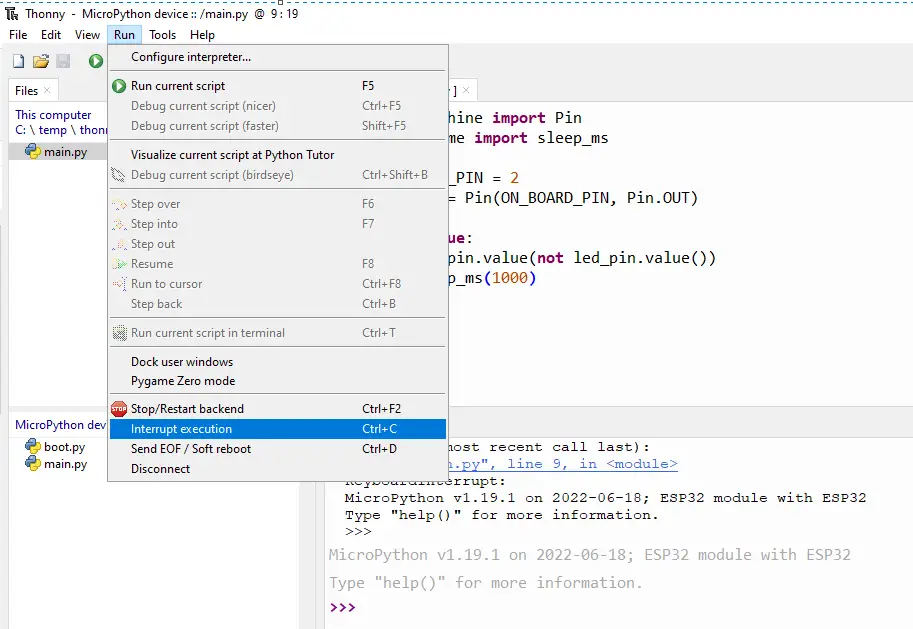
If you want to interrupt the currently running MicroPython program in your MCU such as the ESP32/ESP8266 then you could either, click the “Stop/Restart backend” button or click the Run menu and then Interrupt Execution.
How to run Python file in MicroPython REPL Prompt?
Suppose you have a Python program that you have written like the led-blink.py program below which you have uploaded already in the file system of your MicroController how can you run that Python file in the REPL prompt?
from machine import Pin
from utime import sleep_ms

ON_BOARD_PIN = 2
led_pin = Pin(ON_BOARD_PIN, Pin.OUT)

while True:
    led_pin.value(not led_pin.value())
    sleep_ms(1000)
To run this Python file in the REPL prompt you could execute the below command
exec(open("led-blink.py").read())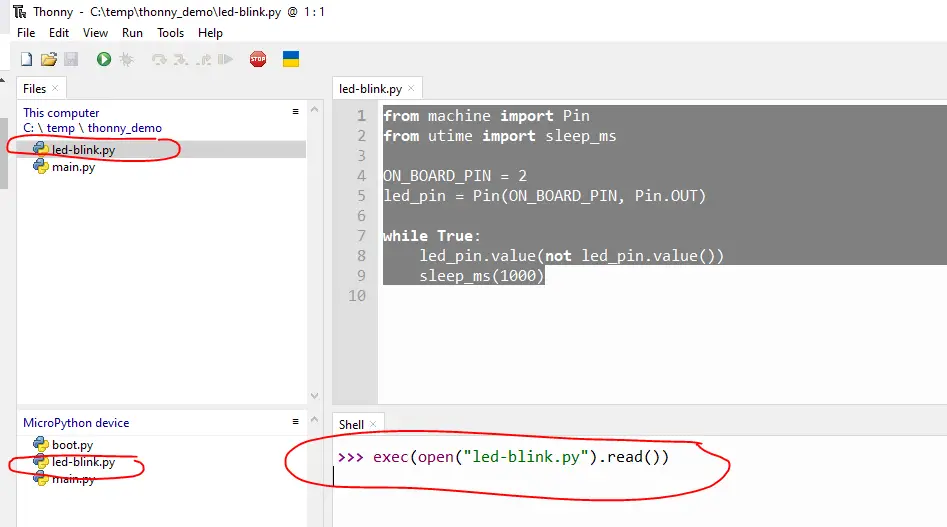
Wrap Up
We have covered how to perform MicroPython development using the Thonny IDE in this post. I have shared several use cases that you would need in order for you to use this awesome Python IDE.
On a personal note, I highly like working with this Thonny IDE while doing MicroPython projects as it was quite easy to get started due to its simple interface. I highly recommend using this for beginners.
Happy Exploring!
Read Next:
Using Arduino with BME280 plus a weather station project
Raspberry Pi Pico W: BME280 Weather Station Dashboard
Support Me!
I love sharing what I know and hopefully, I was able to help you. Writing helpful content takes so much time and research. If you think you like my work and I have managed to help you then please consider supporting my channel. I would be very grateful and would boost my confidence that what I am doing is making a big change in the world. (No Pun Intended!) 😉
Become a Patron!
Leave a Reply