- Introduction
- The Usual Questions
- What is systemd in Raspberry Pi?
- What other options do I have apart from the systemd?
- How to run Python script on the startup of your Raspberry Pi using systemd?
- Execute Python Script in the background
- How to create a systemd unit file?
- How to check the status of your service using systemd?
- How to manually start your Python script using systemd?
- How to manually stop your Python script using systemd?
- How to disable your Python script from running on boot using systemd?
- How do you auto-start a Python Flask application with a virtual environment during the startup or boot of your Raspberry Pi using systemd?
- How to view logs of applications/services configured using systemd?
- Wrap Up
Introduction
So you have finished programming your awesome Python Internet of Things (IoT) application and it is working as expected. But you are wondering how I can configure my Raspberry Pi to start your Python script during boot or startup? This post will show you how you can configure your raspberry pi to start your Python script and Flask web app on boot using the systemd command.
If you want to see a demo of this post in video format then please see below or watch it on my YouTube channel.
The Usual Questions
This post will try to answer the following questions that I often receive or see on my blogs:
- How can I auto-start my Python script when my Raspberry Pi boot?
- How can I run my Python script on a startup of my Raspberry Pi?
- How can I run my Python script in a daemon thread on my Raspberry Pi when it starts?
- How can I run my Python script in a background thread on my Raspberry Pi when it boots?
They may be worded differently but they are almost the same and I would try to answer those questions by using the Raspberry Pi component Linux component called systemd in this post.
What is systemd in Raspberry Pi?
The systemd is an init system commonly used nowadays on most Linux distributions including your Raspberry Pi. An init system is the first program being run by your Linux kernel to run the different services in parallel, initialize the devices attached to your system, and configure the network interfaces of your Raspberry Pi. I find this article to be really good to understand what an init system does and how to configure systemd.
This suite of software is native to the Linux operating system and will allow you to configure the different services, devices, and configurations of your Linux devices. We will use the systemd in this post to configure our Raspberry Pi to start our Python script automatically when it boots.
In fact, when I ask ChatGPT to answer this question for me, it gave me this response. (Note: Yours may be different!)
What other options do I have apart from the systemd?
When you google how you can run your Python script during the start-up of your Raspberry Pi, you would often be given several options including the following:
- Edit your /etc/rc.local and add your Python Script
- Edit your .bashrc file and add your Python Script
- Edit your /etc/init.d and add your Python Script
- Create an entry to your crontab
Personally, I don’t like doing the following options as editing some of these startup scripts may affect your bootup process, especially if your Python script throws an exception so I am suggesting using systemd.
Now so much for theory and let us go into accomplishing the goal of this post.
How to run Python script on the startup of your Raspberry Pi using systemd?
Let us use the following sample Raspberry Pi LED – Blink program that will blink an LED connected to your Raspberry Pi. Execute the below command.
mkdir -p Projects/led-blink/
cd led-blink
nano blink.py
After which, place the following sample program.
# Blink an LED using your Raspberry Pi

import RPi.GPIO as GPIO
from time import sleep

led_pin = 11

GPIO.setwarnings(False)
GPIO.setmode(GPIO.BOARD)
GPIO.setup(led_pin, GPIO.OUT, initial=GPIO.LOW)

while True:
 GPIO.output(led_pin, GPIO.HIGH)
 sleep(1)
 GPIO.output(led_pin, GPIO.LOW)
 sleep(1)
Run the following program by executing the following command.
python blink.pyYou should be able to see the LED connected to your Raspberry Pi blink continuously.
Execute Python Script in the background
Noticed that if you pressed Ctrl + C (or cancel) then your blink.py program would stop running. If you just wanted the LED to blink and ran your Python script in the background then try executing the below command.
python blink.py &This would direct your script to run in the background. If this is all you want then this solution is ok. However, what if you want your blinking LED program to execute when you reboot your Raspberry Pi? That is where we will use systemd. Let us get on with it.
How to create a systemd unit file?
The systemd init system is using the unit file to know what application or service you want to run during the boot or startup of your Raspberry Pi.
A unit file is nothing more than a text file with special sections and key-value pairs. Start by creating the following file in the following directory /etc/systemd/system. We will name our service as led-blink.service
sudo nano /etc/systemd/system/led-blink.serviceInside the led-blink.service, type in the following information.
[Unit]
Description=Blink LED
After=network.target

[Service]
User=pi
WorkingDirectory=/home/pi/Projects/led-blink
ExecStart=python blink.py
Restart=always

[Install]
WantedBy=multi-user.target
The important part is in the Service section of my unit file where we set the WorkingDirectory, the User, and the ExecStart key. In our case, we want to execute the following command python blink.py. Take note that you need to supply the full path of all the executables that you wanted to execute here.
You can also configure our service to run once the network is up like the After key in the Unit section. There are other configurations that you can set like setting up the dependency but that is beyond the scope of this post. For now, just follow the following setup but if you want to learn more then please see this post.
Save the file by typing Ctrl-O and exit the nano editor using Ctrl-X.
Next, you need to tell your Raspberry Pi that you have added this new service file by executing the below code.
sudo systemctl daemon-reloadLastly, you can enable this program to start at boot or during the startup of your Raspberry Pi by executing the below code.
sudo systemctl enable led-blink.serviceYou would see the following message displayed on your terminal.
pi@raspberrypi4:~/Projects/led-blink $ sudo systemctl enable led-blink.service
Created symlink /etc/systemd/system/multi-user.target.wants/led-blink.service → /etc/systemd/system/led-blink.service.
Reboot your Raspberry Pi afterward and you should be seeing your LED blinking as it should start your Python script on boot.
sudo rebootHow to check the status of your service using systemd?
If you want to check the status of your service or application then execute the code below.
sudo systemctl status led-blink.serviceThis should output the following messages. If it is active then it means that your Python program is being run successfully and your LED should be blinking continuously.
● led-blink.service - Blink LED
     Loaded: loaded (/etc/systemd/system/led-blink.service; enabled; vendor preset: enabled)
     Active: active (running) since Tue 2023-05-30 21:58:04 PST; 23h ago
   Main PID: 567 (python)
      Tasks: 1 (limit: 3933)
        CPU: 2.389s
     CGroup: /system.slice/led-blink.service
             └─567 python blink.py
How to manually start your Python script using systemd?
To manually start your Python script then execute the following command.
sudo systemctl start led-blink.serviceHow to manually stop your Python script using systemd?
If you wanted to manually stop your Python script from executing then you could type the below command.
sudo systemctl stop led-blink.serviceHow to disable your Python script from running on boot using systemd?
On the other hand, if you want to manually stop your Python script from executing during the boot or start-up process of your Raspberry Pi then execute the below command.
sudo systemctl disable led-blink.serviceHow do you auto-start a Python Flask application with a virtual environment during the startup or boot of your Raspberry Pi using systemd?
Using Python virtual environment in your projects is an excellent way to separate the dependencies between your projects. If you wanted your Python application that uses a virtual environment to run during your Raspberry Pi boot or startup then you can use systemd also for this.
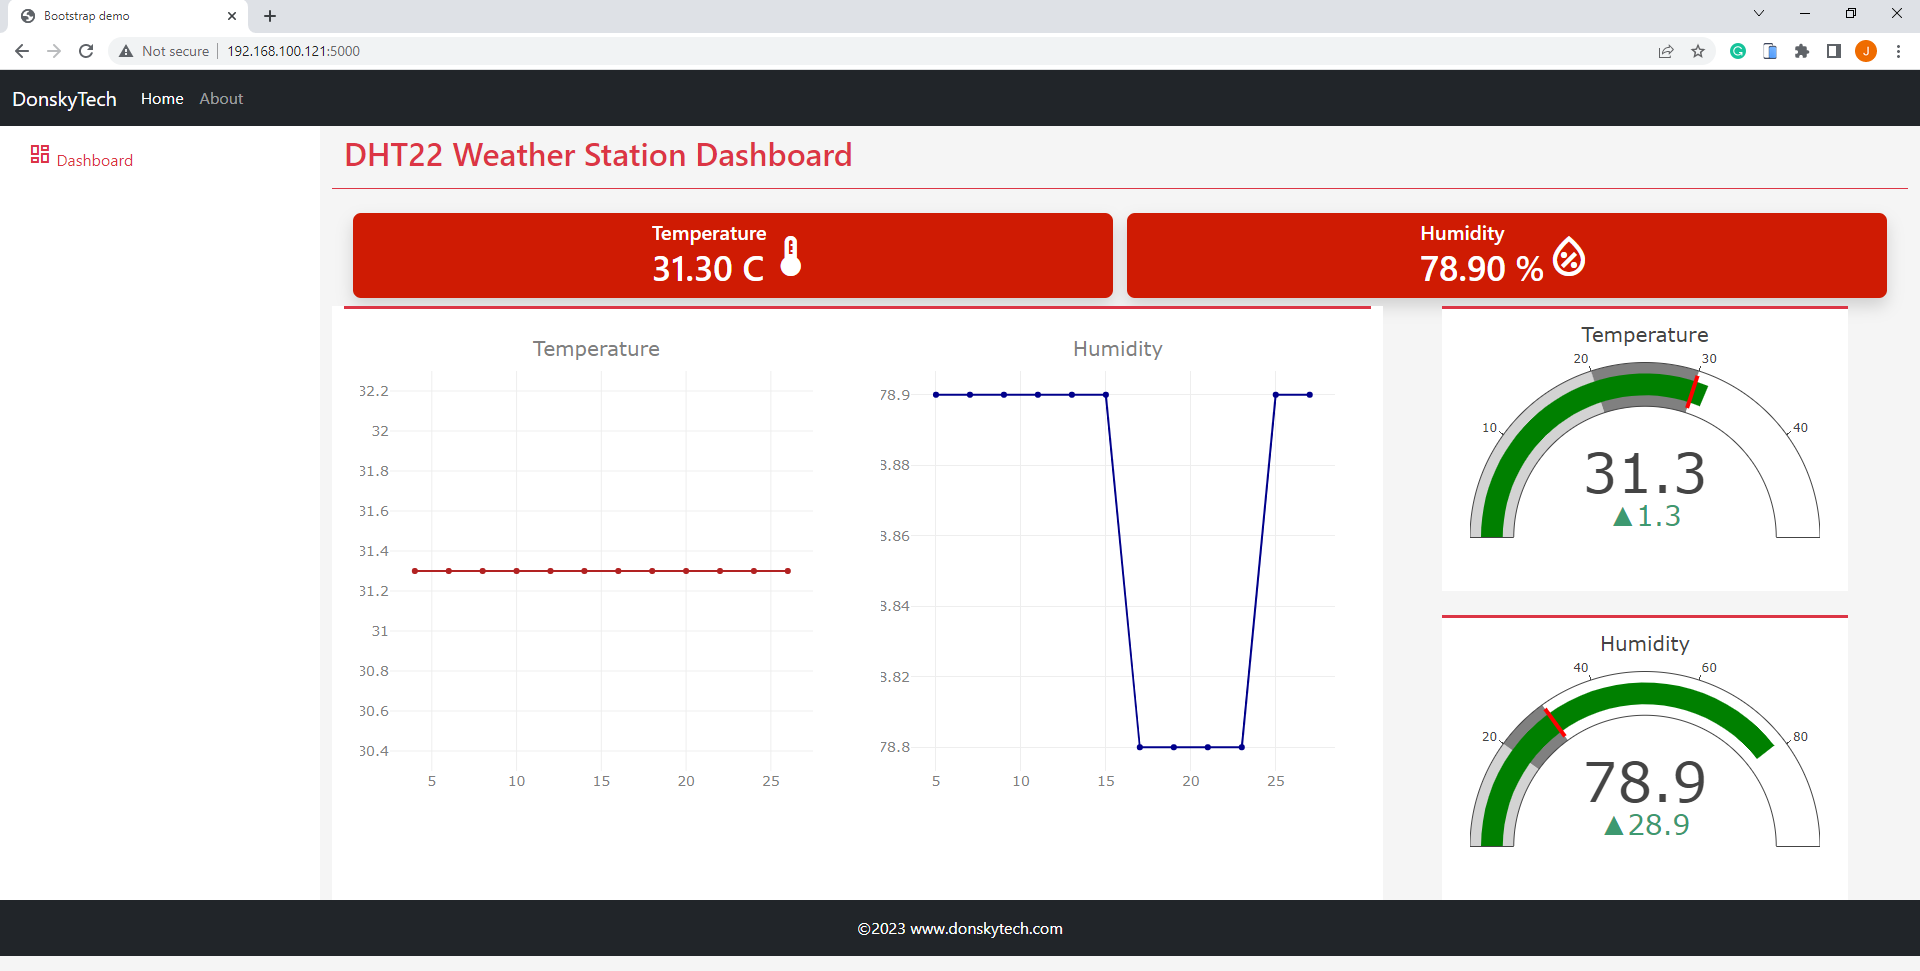
In this section, we will deploy our DHT22 Weather Station dashboard Python web application that displays a real-time display of sensor readings which uses the Flask web framework. For details on how this project works then please see the below posts.
Related Content:
Raspberry Pi DHT22 Weather Station Project
Raspberry Pi IoT Weather Station
Make sure that you have done all the prerequisites for that project before proceeding further, especially installing the AdaFruit CircuitPython DHT22 library. Please see the following post for reference.
Setup the project
Follow the steps below to install this project on your Raspberry Pi.
- Clone the repository
git clone https://github.com/donskytech/dht22-weather-station-python-flask-socketio.git
cd dht22-weather-station-python-flask-socketio- Create a Python virtual environment
python -m venv .venv
source .venv/bin/activate- Install the dependencies
pip install -r requirements.txt- You can now begin running the application using the Flask development server using the below command.
flask run --host=0.0.0.0After which, you can now access the application using the URL below.
http://<Raspberry-Pi-IP>:5000However, using the Flask development server for testing and development might be good but if you are going to deploy it to a production environment then you can use the gunicorn Python WSGI HTTP server.
- Install gunicorn using the below command if it is not yet installed.
pip install gunicornWe can now begin running the application using the below command
gunicorn -b 0.0.0.0:5000 -w 2 app:appYou can now begin accessing the same IP address above to view the web application. Right now it using the gunicorn HTTP server to serve our web application which is much better and scalable compared to using the Flask Development Server.
Setup the systemd unit file for a Python Flask Application
We will follow the same procedure above in creating a unit file for our Python Flask Application. Create the following systemd unit file.
sudo nano /etc/systemd/system/dht-weather-station.servicePaste the following information.
[Unit]
Description=DHT22 IoT Weather Station
After=network.target

[Service]
User=pi
WorkingDirectory=/home/pi/Projects/dht22-weather-station-python-flask-socketio
ExecStart=/home/pi/Projects/dht22-weather-station-python-flask-socketio/.venv/bin/gunicorn -b 0.0.0.0:5000 -w 2 app:app
Restart=always

[Install]
WantedBy=multi-user.target
Let us tell our Raspberry Pi system about this new service by reloading it.
sudo systemctl daemon-reloadNow let us try manually starting the service
sudo systemctl start dht-weather-station.serviceCheck the status of the Flask application.
$ sudo systemctl status dht-weather-station.service
● dht-weather-station.service - DHT22 IoT Weather Station
     Loaded: loaded (/etc/systemd/system/dht-weather-station.service; disabled; vendor preset: enabled)
     Active: active (running) since Thu 2023-06-01 16:50:51 PST; 42s ago
   Main PID: 4954 (gunicorn)
      Tasks: 6 (limit: 3933)
        CPU: 10.652s
     CGroup: /system.slice/dht-weather-station.service
             ├─4954 /home/pi/Projects/dht22-weather-station-python-flask-socketio/.venv/bin/python /home/pi/Projects/dht22-weather-station-python-flask-socketio/.venv/bin/gunicorn -b 0.0.0.0:5000 -w 2 app:app
             ├─4960 /home/pi/Projects/dht22-weather-station-python-flask-socketio/.venv/bin/python /home/pi/Projects/dht22-weather-station-python-flask-socketio/.venv/bin/gunicorn -b 0.0.0.0:5000 -w 2 app:app
             ├─4961 /home/pi/Projects/dht22-weather-station-python-flask-socketio/.venv/lib/python3.9/site-packages/adafruit_blinka/microcontroller/bcm283x/pulseio/libgpiod_pulsein64 --pulses 81 --queue 26373 -i gpiochip0 3
             └─4963 /home/pi/Projects/dht22-weather-station-python-flask-socketio/.venv/bin/python /home/pi/Projects/dht22-weather-station-python-flask-socketio/.venv/bin/gunicorn -b 0.0.0.0:5000 -w 2 app:app
If everything is okay then we can enable this service to start during the reboot of our Raspberry Pi.
sudo systemctl enable dht-weather-station.service
Created symlink /etc/systemd/system/multi-user.target.wants/dht-weather-station.service → /etc/systemd/system/dht-weather-station.service.
Try rebooting your Raspberry Pi and verify that it will start our Python Flask web application script on boot.
sudo rebootHow to view logs of applications/services configured using systemd?
If your Python application such as my Flask DHT Weather Station logs information then you can use the journalctl utility command to scan the logs collected by the journald daemon. The journald gathers all the logs coming from all systemd units on your system.
journalctl -u dht-weather-stationIf you want to follow the logs from your application then you can execute the following command.
journalctl -u dht-weather-station -fWrap Up
In this post, we have discussed how we can use the systemd software suite of your Raspberry Pi to auto-start our Python script during its start-up or boot. I have shown you how to configure your own systemd unit file that will enable your Python application to run when you restart your Raspberry Pi. Also, I have shown you how you can run your Flask web applications that use virtual environments using the same systemd unit configuration file.
I hope you learned something! Happy exploring!
Leave a Reply