
Introduction
This post will discuss how you can install Mosquitto MQTT broker on a Windows machine. MQTT or MQ Telemetry Transport is a publish-subscribe lightweight protocol. This protocol is ideal for memory or bandwidth-constrained devices like our microcontroller.
We will begin the installation process by installing the Mosquitto MQTT broker on a Windows machine and then do the necessary configuration. After that, we will do the initial testing of a publish-subscribe cycle to verify the installation.
Prerequisites
You will need a workstation or laptop running Windows and with sufficient CPU power and memory. Also, ensure you have sufficient Administrator privileges so we don’t encounter any permission issues.
Steps
- Download the MQTT Broker from this link. When writing this post, the latest version is shown in the image below. Select if you want the 32-bit or 64-bit version.

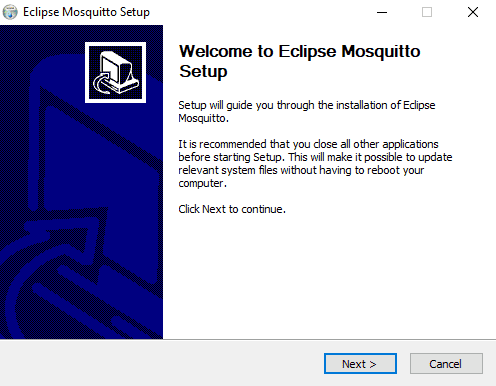
- When the download is finished click the executable file. If a popup for user account control is shown then just click Yes. When this screen is shown click Next.
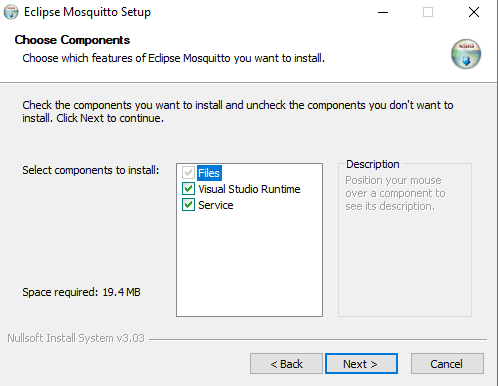
- Click Next again on which components to install
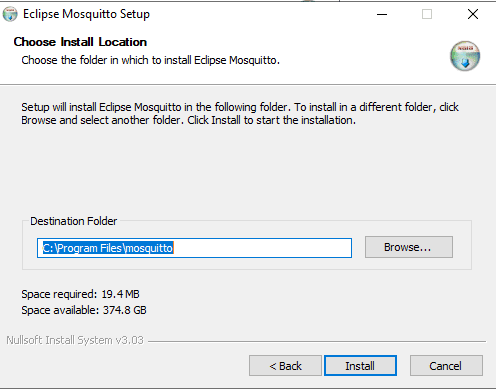
- Please select where you want to install it but in my case, I have set it to the default installation folder and clicked the install button.
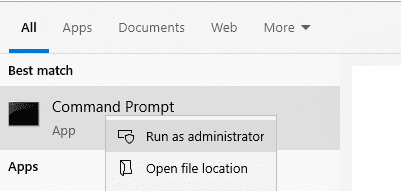
- Once the installation is finished then open a command prompt. Right-click and click the “Run as Administrator Option”
- Change into the directory where you installed your Mosquitto broker and execute the below command to start the Mosquitto service.
net start mosquitto
You should be able to see the following message above to be displayed.
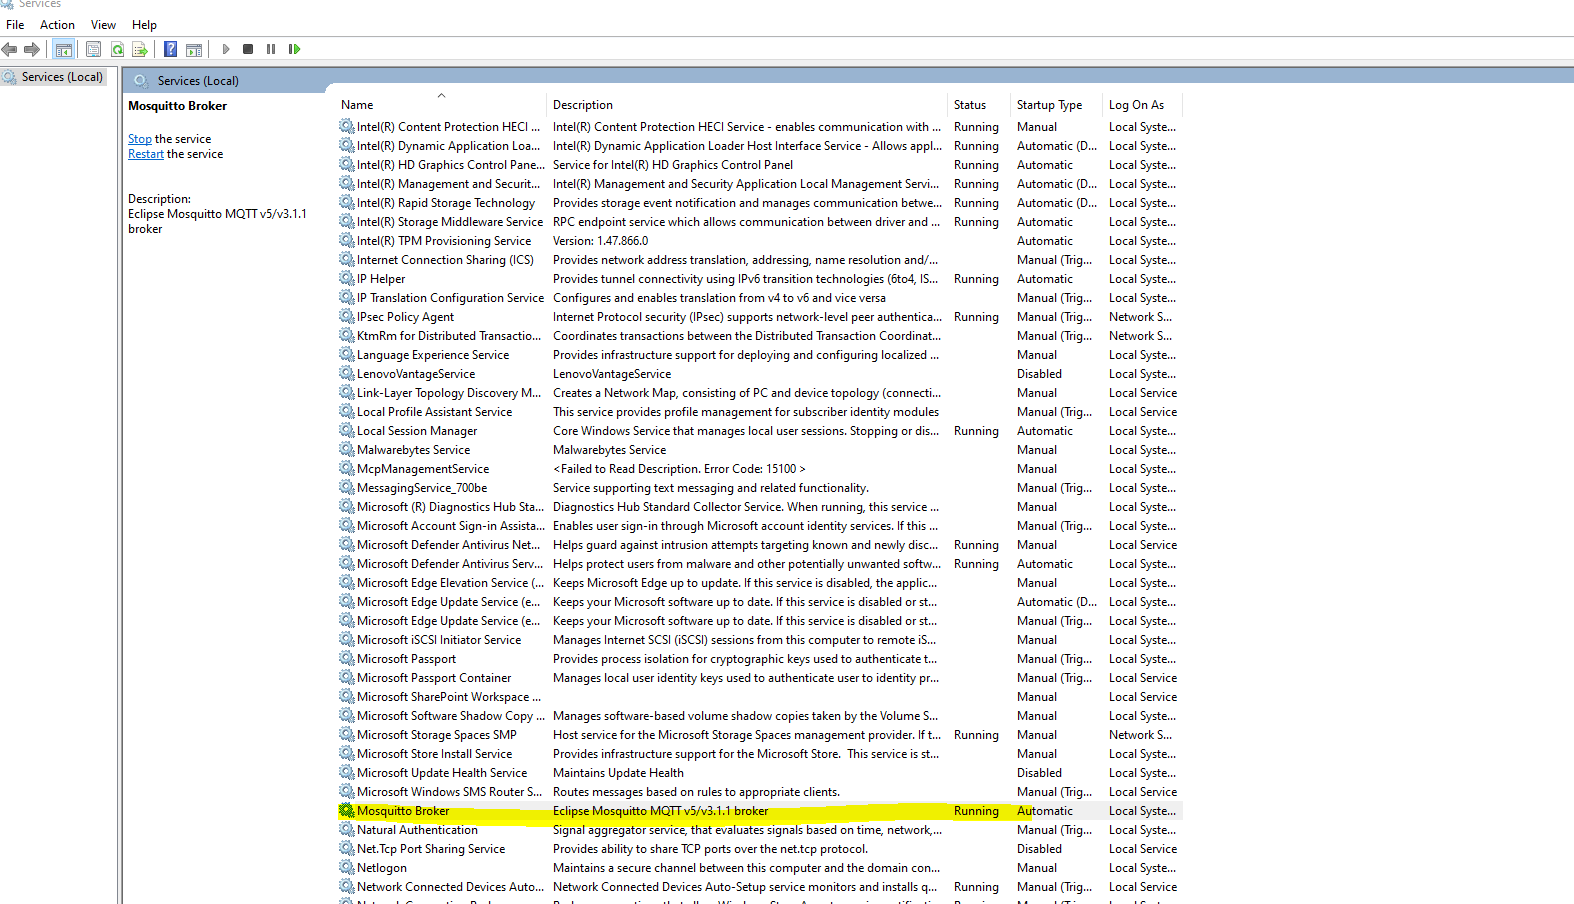
If you go into the services then you will notice that the Mosquitto broker is now Running.
Testing our Mosquitto MQTT Broker
Now that we have successfully configured our Mosquitto MQTT Broker in our Windows environment then we will test it. To test it, we will send a publish and subscribe command on our same Windows machine. This would be enough to test if our installation is successful.
Subscriber client
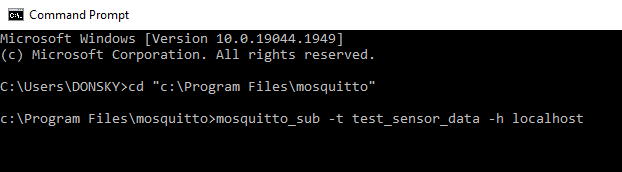
- Open a command prompt and change the directory into our Mosquitto installation then type in the below command.
mosquitto_sub -t test_sensor_data -h localhostThe command above subscribes to the topic test_sensor_data. Keep this command prompt window open. This is waiting for any publisher to publish any information on that topic.
Publisher client
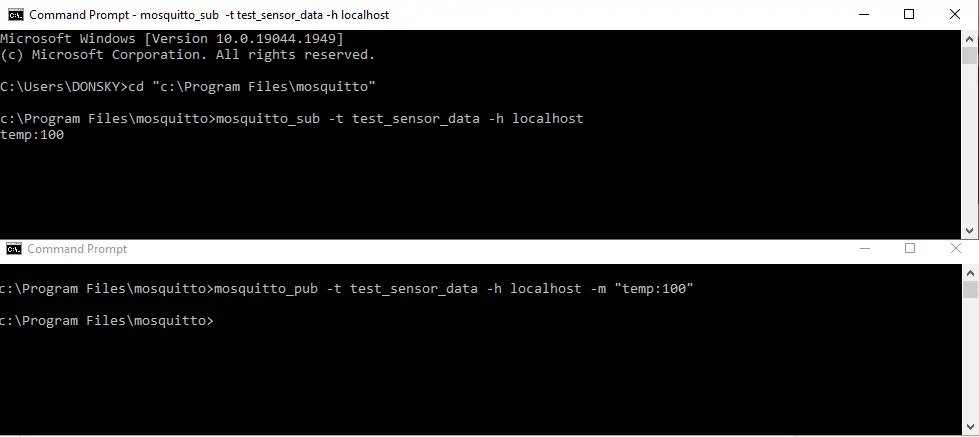
- Open a new command prompt and change the directory into our Mosquitto folder installation. Type in the below command and click enter.
mosquitto_pub -t test_sensor_data -h localhost -m “temp:100”
This publishes a message about the temperature on the topic test_sensor_data.
If you take a look now at our subscriber command prompt window then you will see that the message is displayed.
Congratulations! We now have a functioning Mosquitto MQTT broker on our Windows machine. Yay!
Adding the Mosquitto commands to the Windows PATH variable
Right now, when you want to execute the Mosquitto commands then you need to cd to the directory where you installed your Mosquitto software. If you want to access the mosquitto_pub and mosquitto_sub commands anywhere then you can add the Mosquitto folder to the PATH variable.
Follow the following steps to add your Mosquitto software to the PATH environment variable.
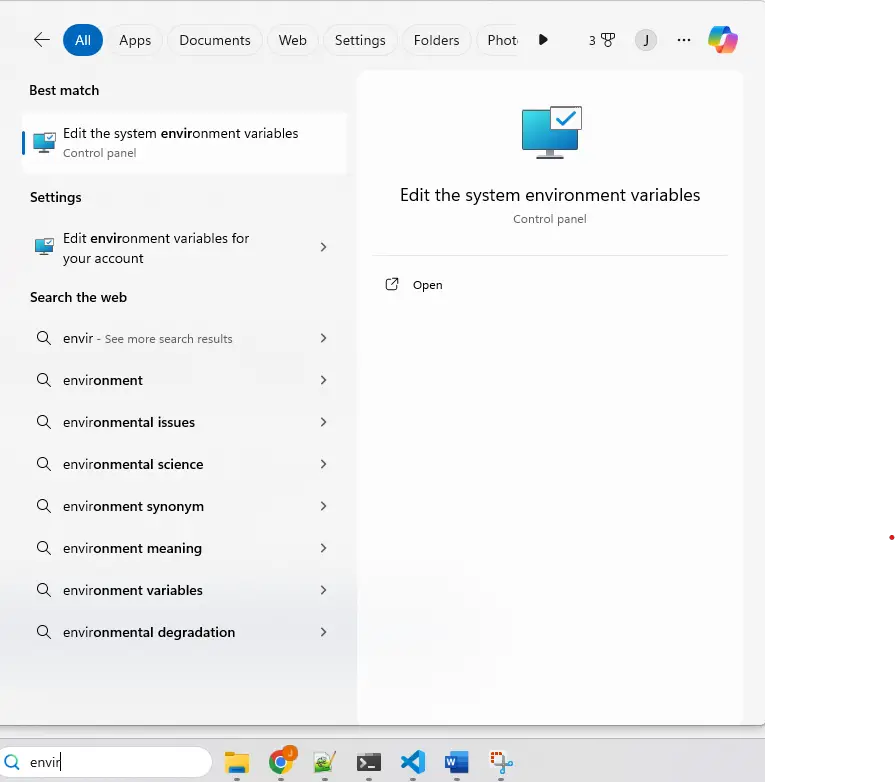
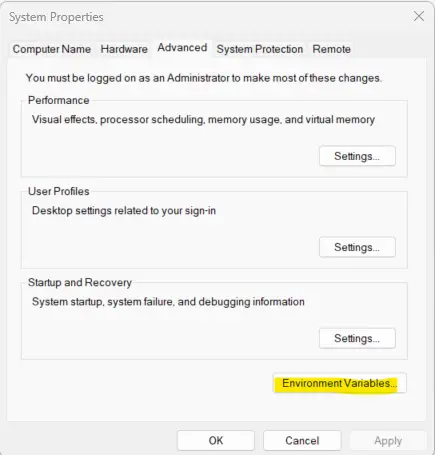
- In your search bar, type in “environment”. Click the Edit the system environment variables
- Click the Environment Variables
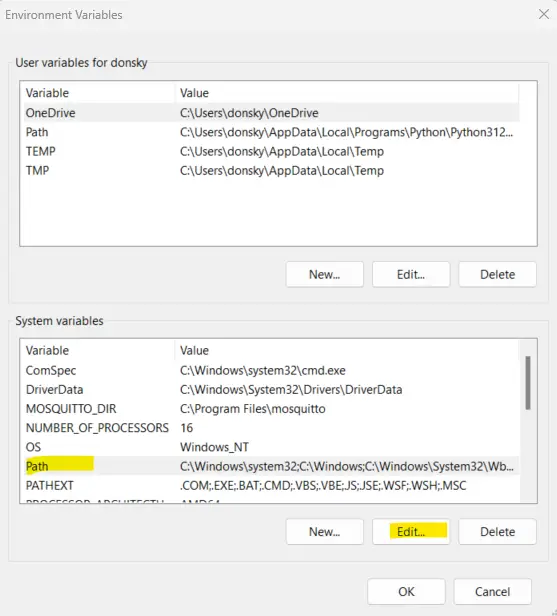
- Search for the Path variable and click edit.
- Add a New environment variable and paste it into the directory where you installed your Mosquitto server.
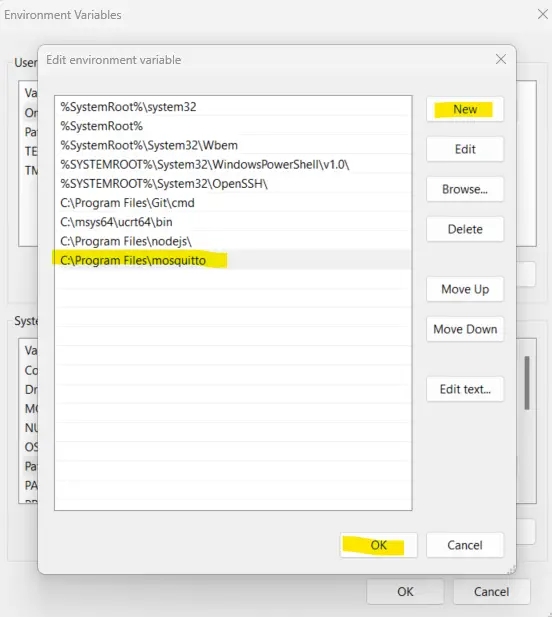
Now, whenever you open a new command prompt then you can execute the mosquitto_pub and mosquitto_sub commands directly.
How to Uninstall Mosquitto MQTT Broker in Windows?
Open a command prompt and make sure that it is running in Administrator mode.
Type in the below command to stop the Mosquitto MQTT service first.
net stop mosquitto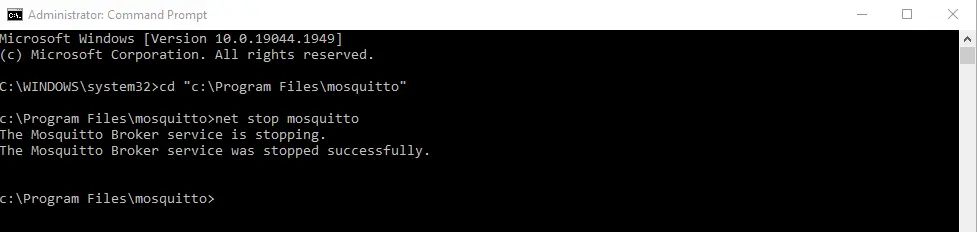
After which, type in the below command to uninstall the Mosquitto
mosquitto uninstallDelete the installation folder if it was not deleted automatically.
Wrap Up
We have completed the process of how to install the Mosquitto MQTT broker on the Windows machine in this post. Also, we have run the configuration needed and then run the initial testing to verify our installation.
We are now ready to explore this awesome protocol in our IOT projects.
That’s it! Happy Exploring!
Read Next:
Pico W -MicroPython MQTT – BMP/BME 280 Weather Station
MQTT Tutorial using Arduino Framework
Read More:
Exploring Node-Red, Dashboard 2.0, and MQTT
How to build your own custom MQTT dashboard?
Leave a Reply