Introduction
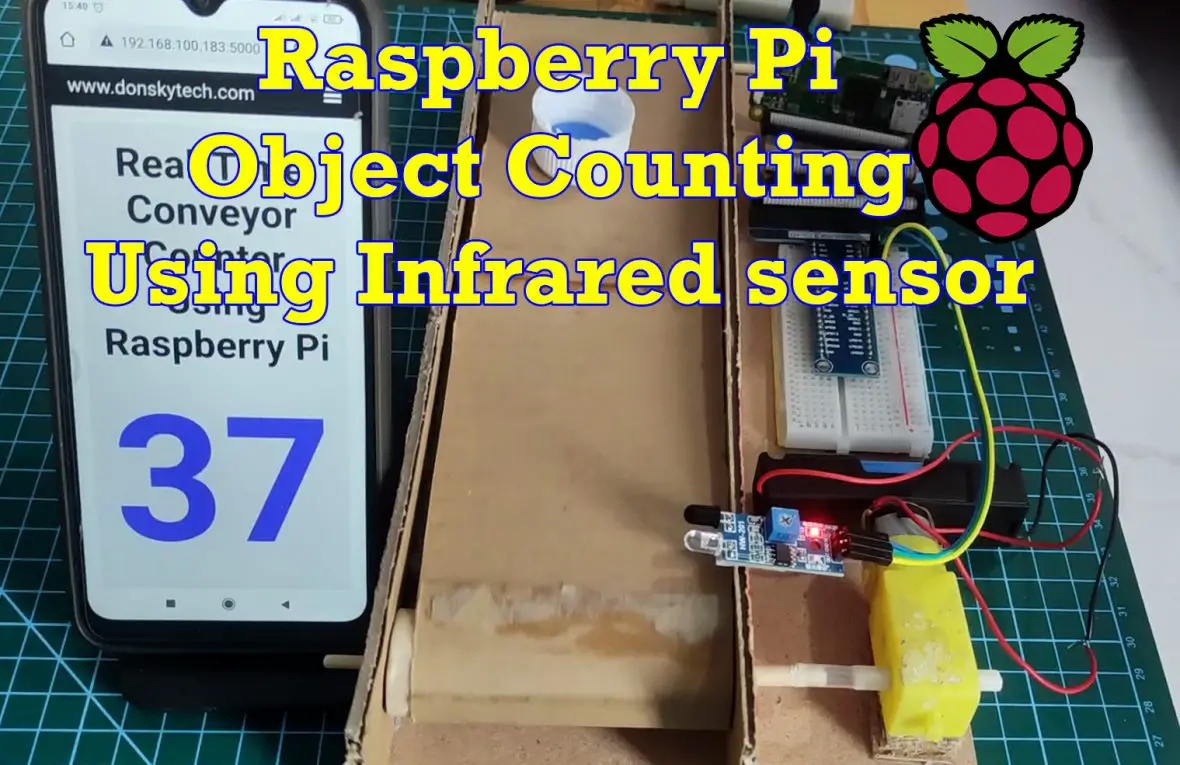
The following post will show how we can use the Raspberry Pi as an object counter by using the Infrared (IR) sensor. IR sensors are excellent electronic components that can sense the proximity of objects and we will use it in counting objects that are passing in our mini conveyor system.
We will use the WebSockets protocol in programming our Python Flask application as this provides real-time communication between our clients and server. This is an excellent protocol that you can use when you need little overhead just like our ESP32 Robot Car Using Websockets. If you like video tutorials then please see them below or watch them on my YouTube channel.
Prerequisites
The following are the important things to know so that you could follow along with this project.
- You should know how to interact with an Infrared (IR) sensor using your Raspberry Pi. If not then please take a look at my Using Infrared (IR) Sensor with Raspberry Pi
- You should know how to use Python, Flask, and Flask-SocketIO. Please read through Display Real-Time Updates Using Python, Flask, and Websockets. Reading that post is important as the logic that I did here in this project is explained thoroughly in that post.
- You are familiar with interacting with your Raspberry Pi thru terminal or putty. Also, please make sure that you have the latest Raspberry Pi OS installed. You can follow my earlier post about Setup Raspberry Pi Headless No Monitor.
- The conveyor project that I did here is my own DIY Cardboard Conveyor Belt. You can view a demo from the video below.
The followings are the components and materials needed for this project.
- Raspberry Pi (I used Raspberry Pi Zero W) – Amazon | AliExpress
- Infrared (IR) sensor – Amazon | AliExpress
- Breadboard – Amazon | AliExpress | Bangood
- Connecting Wires – Amazon | AliExpress | Bangood
Disclosure: These are affiliate links and I will earn small commissions to support my site when you buy through these links.
Design
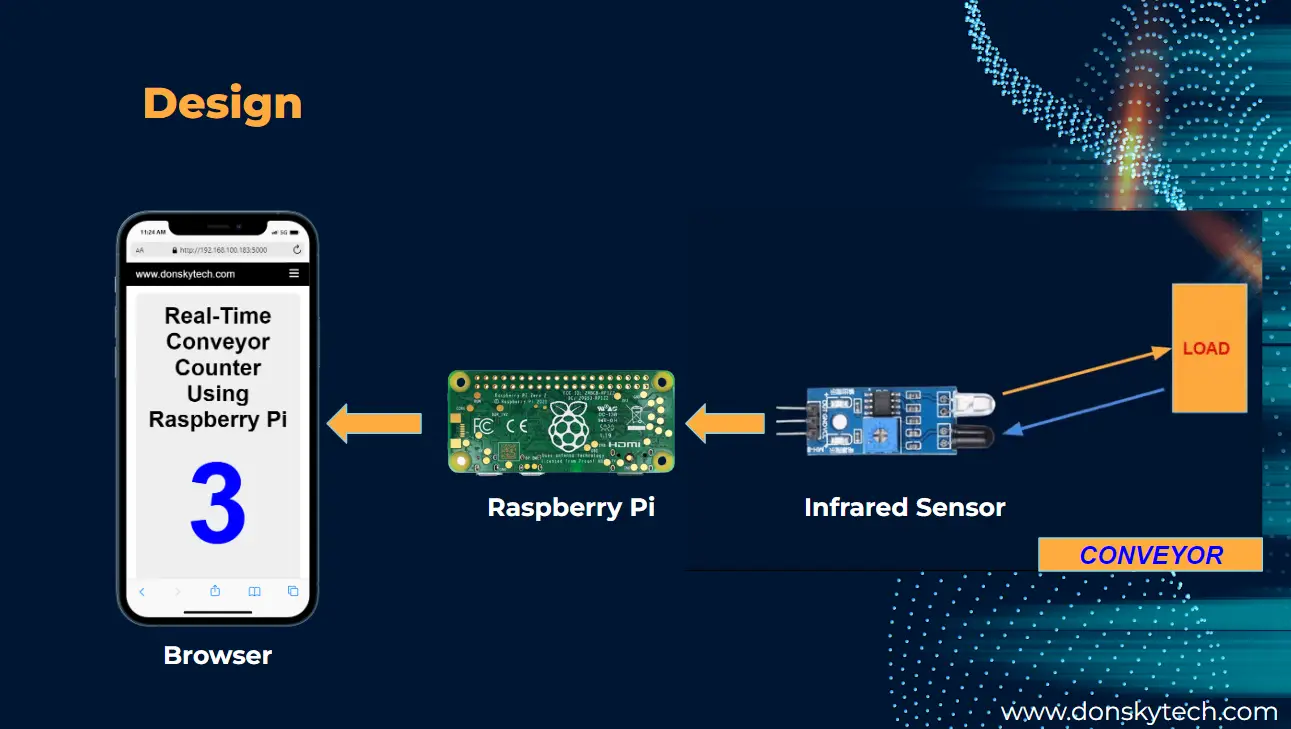
The overall design of the project is shown in the image above and can be summarized by the following bullet points.
- The Raspberry Pi contains the Flask and Flask-SocketIO which houses our Object Counter Web Application and our Websockets server.
- It connects with the Infrared (IR) sensor also which checks for any passing load in our conveyor.
- When the IR sensor detects that a load is passing through then it signals the Raspberry Pi device.
- The Raspberry Pi device then increments its own counter and send a WebSocket message to all connected client.
- When we access the web application on our mobile phone then it opens a WebSocket client to our Flask-SocketIO Websocket server. It then will listen for any incoming WebSocket messages and updates its own counter.
Tech Stack
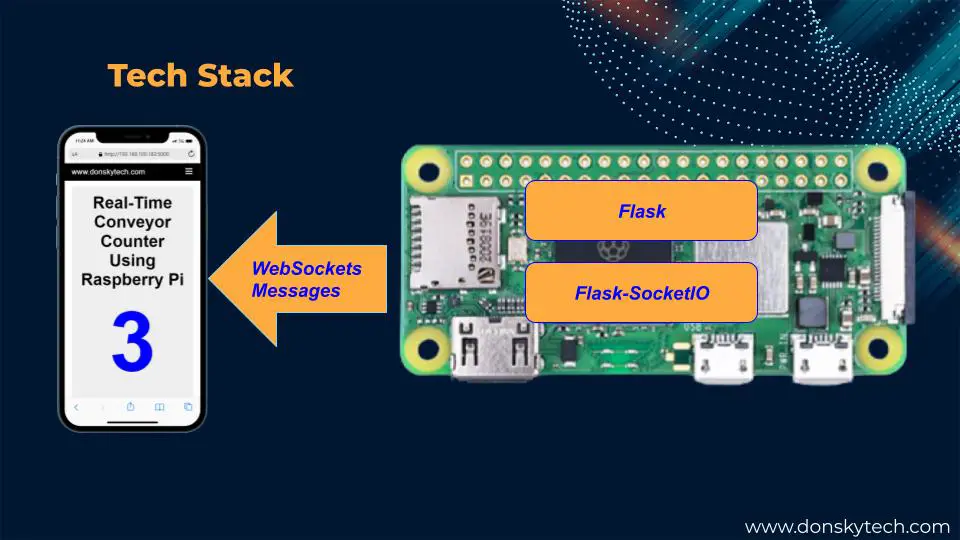
We will be using Flask and Flask-SocketIO to create our Object Counter Web Application. I have covered this extensively in my Display Real-Time Updates Using Python, Flask, and Websockets so please read it first as I will not be discussing those two. We will use Python for the programming, some javascript for handling the WebSocket messages and the mincss for the styling.
If you want to know more about WebSocket then please look at my Using WebSocket in the Internet of Things (IOT) projects post.
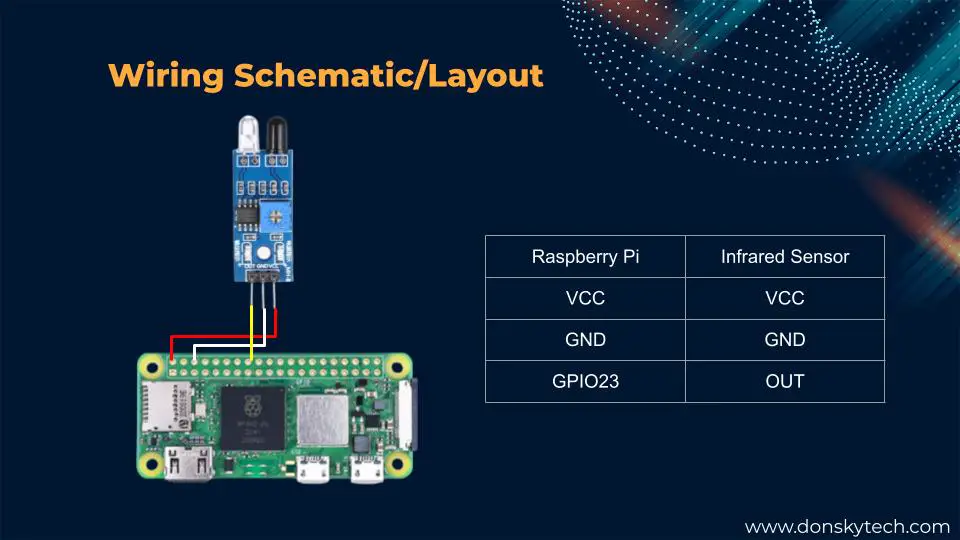
Wiring/Schematics
Running the Project
The whole code for this project is in my GitHub repository and you can access it here.
Clone my project
Open a connection to your Raspberry Pi either thru putty or ssh then go to your home directory where you can create your project or you can execute the below commands.
cd ~
mkdir -p Projects
Clone my repository by executing the below commands.
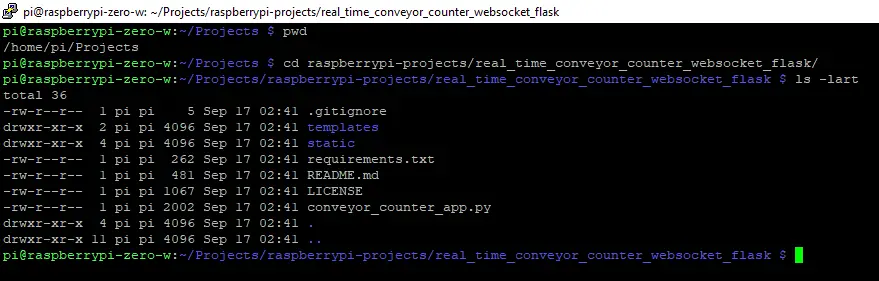
git clone https://github.com/donskytech/raspberrypi-projects.git
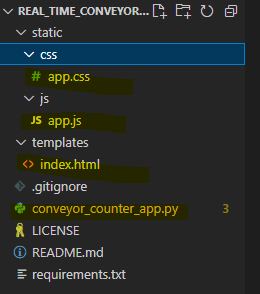
cd raspberrypi-projects/real_time_conveyor_counter_websocket_flask/You should be able to see my project files.
Creating Python Virtual Environment
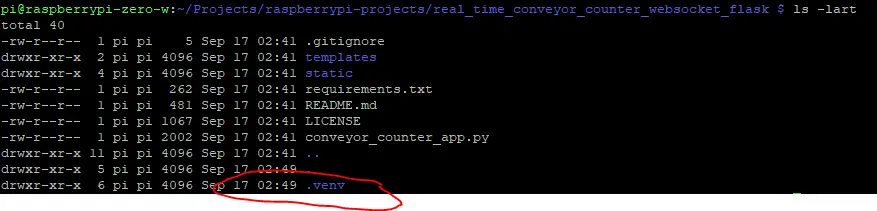
Let’s create a Python Virtual Environment for this project by executing the below command.
python3 -m venv .venvThis will create the following hidden “.venv” folder in the root directory.
Activate the virtual environment.
source .venv/bin/activateYou will know that you are in the Python Virtual Environment when you can see the following in the terminal.

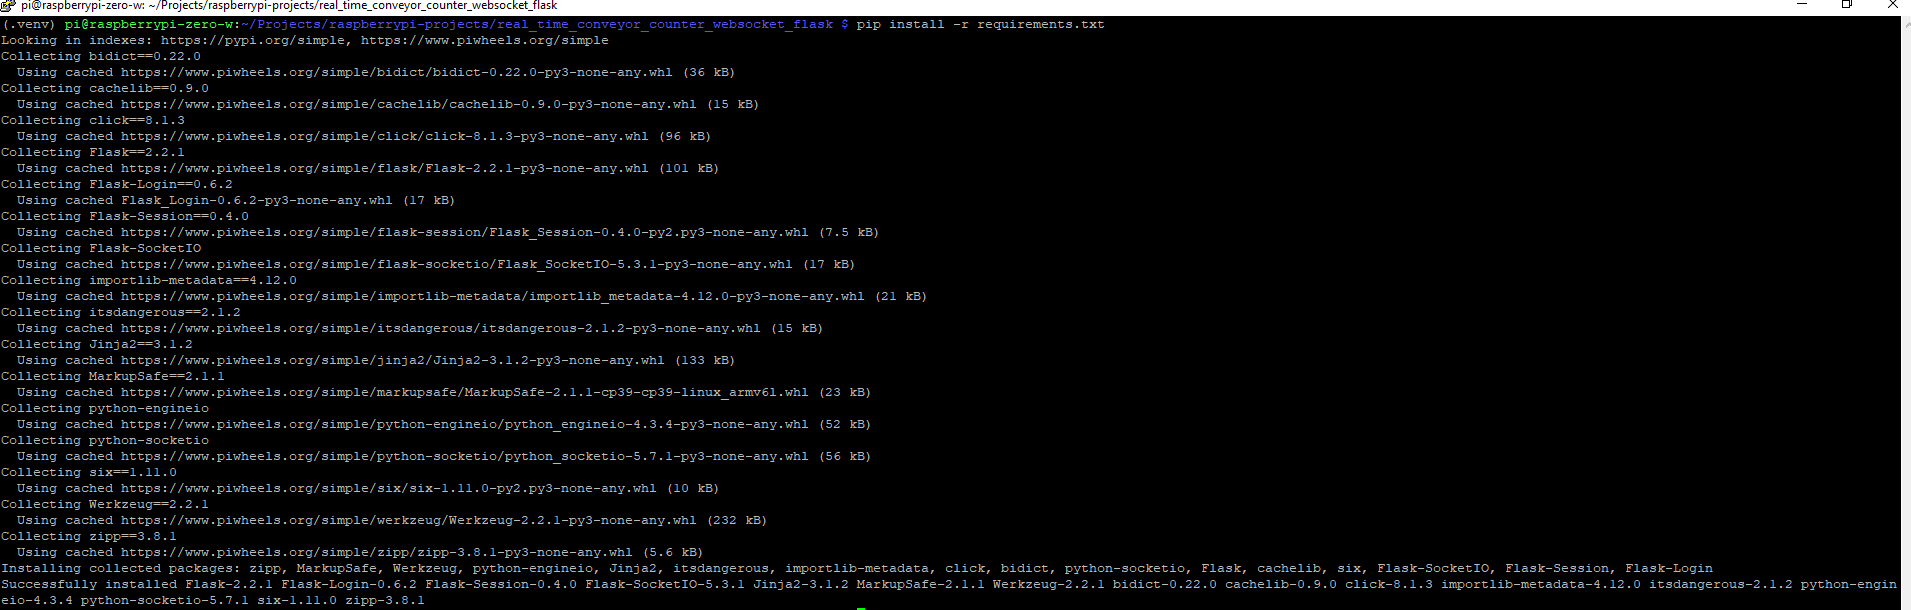
Install the dependencies using the below command.
pip install -r requirements.txtWait for the above command to finish after which the installed dependencies for this project should be displayed.
Running the project
To run the project then execute the below command.
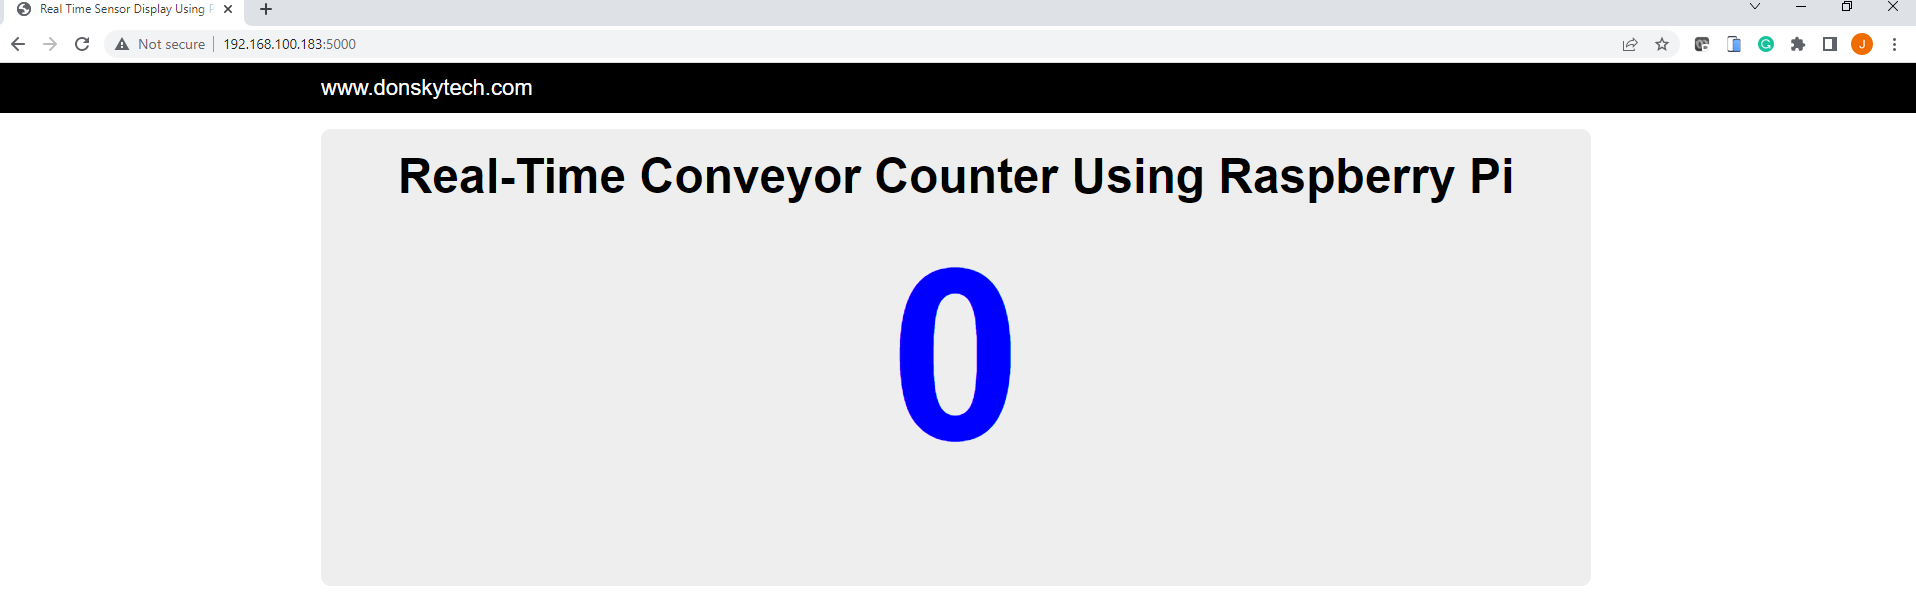
python3 conveyor_counter_app.pyThis should run the Flask development server.

Access the application by typing the IP address encircled above in your browser. This should open up our application.
Code
The following are the important parts of our project. The logic is almost similar to our previous post which is the Display Real-Time Updates Using Python, Flask, and Websockets but I will just point out the differences.
conveyor_counter_app.py
Below is the code for the conveyor_counter_app.py which acts as our Flask and Websockets server. Also, it reads the Infrared (IR) sensor so that when a load comes in proximity to the IR sensor then we increment our counter.
from flask import Flask, render_template, request
from flask_socketio import SocketIO
from random import random
from threading import Lock
from datetime import datetime
import RPi.GPIO as GPIO

sensor_pin = 23

# set the behaviour of led as output
is_load_detected = False
count = 0

"""
The callback will listen to
"""
def check_event(pin):
    global count
    if is_load_detected:
        print("Sending counter event...")
        count+=1
        socketio.emit('updateSensorData', {'value': count, "date": get_current_datetime()})

GPIO.setmode(GPIO.BCM)
GPIO.setup(sensor_pin, GPIO.IN)
GPIO.add_event_detect(sensor_pin, GPIO.FALLING, callback=check_event)


# Flask and Flask-SocketIO configuration
app = Flask(__name__)
app.config['SECRET_KEY'] = 'donsky!'
socketio = SocketIO(app, cors_allowed_origins='*')

"""
Background Thread
"""
thread = None
thread_lock = Lock()

"""
Get current date time
"""
def get_current_datetime():
    now = datetime.now()
    return now.strftime("%m/%d/%Y %H:%M:%S")

"""
Generate random sequence of dummy sensor values and send it to our clients
"""
def background_thread():
    print("Generating random sensor values")
    global is_load_detected
    try:
        while True:
            if GPIO.input(sensor_pin):
                is_load_detected = False
            else:
                is_load_detected = True
    except KeyboardInterrupt:
        GPIO.cleanup()

"""
Serve root index file
"""
@app.route('/')
def index():
    return render_template('index.html')

"""
Decorator for connect
"""
@socketio.on('connect')
def connect():
    global thread
    print('Client connected')

    global thread
    with thread_lock:
        if thread is None:
            thread = socketio.start_background_task(background_thread)

"""
Decorator for disconnect
"""
@socketio.on('disconnect')
def disconnect():
    print('Client disconnected',  request.sid)

if __name__ == '__main__':
    # Access app in all IP not just localhost
    socketio.run(app, host="0.0.0.0")
Le us go over the code for you to understand better.
from flask import Flask, render_template, request
from flask_socketio import SocketIO
from random import random
from threading import Lock
from datetime import datetime
import RPi.GPIO as GPIO
Import the required modules and packages
sensor_pin = 23

# set the behaviour of led as output
is_load_detected = False
count = 0
We define the sensor pin, and the variable is_load_detected that if something comes in proximity with the IR sensor then this would be set to true. The count variable will hold our existing count.
"""
The callback will listen to
"""
def check_event(pin):
    global count
    if is_load_detected:
        print("Sending counter event...")
        count+=1
        socketio.emit('updateSensorData', {'value': count, "date": get_current_datetime()})
This is our callback function when the “load” already passed our IR sensor. This function is called when we detect that the sensor pin reading has gone from HIGH to Low. When this is called then it increments the counter and emits a Webscoket message to the calling client.
GPIO.setmode(GPIO.BCM)
GPIO.setup(sensor_pin, GPIO.IN)
GPIO.add_event_detect(sensor_pin, GPIO.FALLING, callback=check_event)
GPIO is configured here but the important part is we add a callback in the add_event_detect of our sensor pin. This would serve as an interrupt to our project.
# Flask and Flask-SocketIO configuration
app = Flask(__name__)
app.config['SECRET_KEY'] = 'donsky!'
socketio = SocketIO(app, cors_allowed_origins='*')
Flask and Flask-SocketIO configuration is declared here.
"""
Background Thread
"""
thread = None
thread_lock = Lock()

"""
Get current date time
"""
def get_current_datetime():
    now = datetime.now()
    return now.strftime("%m/%d/%Y %H:%M:%S")

"""
Generate random sequence of dummy sensor values and send it to our clients
"""
def background_thread():
    print("Generating random sensor values")
    global is_load_detected
    try:
        while True:
            if GPIO.input(sensor_pin):
                is_load_detected = False
            else:
                is_load_detected = True
    except KeyboardInterrupt:
        GPIO.cleanup()
This is our background thread that checks for the reading from our IR sensor.
"""
Serve root index file
"""
@app.route('/')
def index():
    return render_template('index.html')

"""
Decorator for connect
"""
@socketio.on('connect')
def connect():
    global thread
    print('Client connected')

    global thread
    with thread_lock:
        if thread is None:
            thread = socketio.start_background_task(background_thread)

"""
Decorator for disconnect
"""
@socketio.on('disconnect')
def disconnect():
    print('Client disconnected',  request.sid)

if __name__ == '__main__':
    # Access app in all IP not just localhost
    socketio.run(app, host="0.0.0.0")
These are our Flask and Flask-SocketIO decorator functions that we use to render our index.html and listen for connect and disconnect events from our Websockets.
index.html
This is almost similar to the Flask and Flask-SocketIO applications that we did earlier except that we are not displaying a graph here but just a normal counter.
<!DOCTYPE html>
<html>
  <head>
    <meta charset="UTF-8" />
    <meta name="viewport" content="width=device-width, initial-scale=1" />
    <title>Real Time Sensor Display Using Python, Flask, Flask-SocketIO</title>

    <script src="https://cdnjs.cloudflare.com/ajax/libs/jquery/3.5.1/jquery.min.js" integrity="sha512-bLT0Qm9VnAYZDflyKcBaQ2gg0hSYNQrJ8RilYldYQ1FxQYoCLtUjuuRuZo+fjqhx/qtq/1itJ0C2ejDxltZVFg==" crossorigin="anonymous"></script>
    <script src="https://cdnjs.cloudflare.com/ajax/libs/socket.io/3.0.4/socket.io.js" integrity="sha512-aMGMvNYu8Ue4G+fHa359jcPb1u+ytAF+P2SCb+PxrjCdO3n3ZTxJ30zuH39rimUggmTwmh2u7wvQsDTHESnmfQ==" crossorigin="anonymous"></script>
    <script src="https://cdnjs.cloudflare.com/ajax/libs/Chart.js/3.7.1/chart.min.js"></script>
    <link
      href="//mincss.com/entireframework.min.css"
      rel="stylesheet"
      type="text/css"
    />
    <link href="{{url_for('static', filename = 'css/app.css')}}" rel="stylesheet">
  </head>
  <body>
    <script type="text/javascript" src="{{ url_for('static', filename = 'js/app.js') }}"></script>

    <nav class="nav" tabindex="-1" onclick="this.focus()">
      <div class="container">
        <a class="pagename current" href="#">www.donskytech.com</a>
      </div>
    </nav>
    <button class="btn-close btn btn-sm">×</button>
    <div class="container">
      <div class="hero">
        <h1 class="title">Real-Time Conveyor Counter Using Raspberry Pi</h1>
        <div class="counter">
          <h1 id="current-count">0</h1>
        </div>
      </div>
    </div>
  </body>
</html>
app.js
The javascript code that listens for the WebSockets messages and updates our HTML page counter.
$(document).ready(function () {
  //connect to the socket server.
  var socket = io.connect("http://" + document.domain + ":" + location.port);
  // var socket = io.connect();

  //receive details from server
  socket.on("updateSensorData", function (msg) {
    console.log("Received sensorData :: " + msg.date + " :: " + msg.value);
    $("#current-count").text(msg.value);

  });
});
app.css
These are our custom stylesheets for our counter.
.hero {
    background: #eee;
    padding: 20px;
    border-radius: 10px;
    margin-top: 1em;
}

.hero h1 {
    margin-top: 0;
    margin-bottom: 0.3em;
    text-align: center;
}


/****** Custom CSS  ********/
.title{
    text-align: center;
}

.counter{
    text-align: center;
}

#current-count{
    font-size: 15em;
    font-weight: bold;
    color: blue;
}
That is all about the code. Let me know if something is not clear by commenting on this post.
Wrap Up
We were able to utilize the Infrared (IR) sensor capability in counting the number of objects passing thru it. Our Raspberry Pi Object Counter application displays the count in real time using Websockets in this post. I hope you learned something!
Happy Exploring!
Read Next:
Raspberry Pi BME280 Weather Station Using Python and Flask
Using an Infrared (IR) Sensor with Raspberry Pi
Leave a Reply